
Posted on: 12 May, 2015 - 09:23
Step 1: Go to http://pharos.aus.edu.
This link is only accessible from within campus.
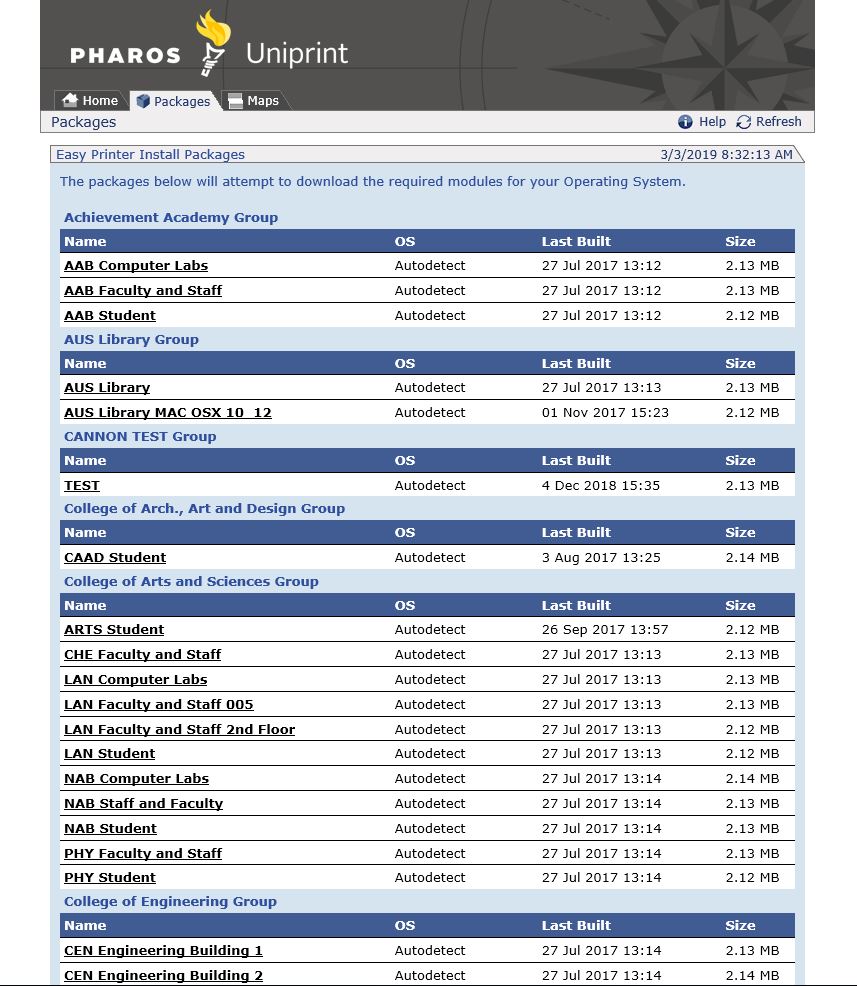
Step 2: Click on the package that belongs to your building/building floor/building room. The package will automatically be downloaded onto your computer. Please note that any package with the name containing “Student” is for the printers which students, faculty and staff can use, including printers in the computer labs. As for the packages with a name containing “Faculty and Staff” on it is restricted to faculty and staff.
Student can use any of the available or installed printers only if their accounts are active and are registered for the current semester.
Step 3: Click on the .exe file and right click to run as an Administrator.
NOTE: These packages are only for Windows OS. Both 32 and 64 bit version of Windows are supported unless stated otherwise. Only the print packages for the CAAD building are for Mac OS.
Step 4: Click on "Install" and wait for the package installer to finish installing all the required drivers. This may take several minutes.
Step 5: When printing a document, click on the printer name from the printer menu or press CTRL+P (for Windows) or CMD+P (for Mac). A list of all the printers included in this package will be displayed. Pick the required printer and print.
Step 6: A prompt will display asking for username and password. Use your AUS credentials to authenticate the network printer.
Step 7: Go to the selected printer and enter the same AUS credentials on the print job release station near the printer.
NOTE: There are no issues with having multiple printer packages installed on the same laptop, and they automatically get updated.