Posted on: 10 August, 2015 - 10:38
Step 1: Make sure you have turned on your wireless switch.
Step 2: On your desktop, click on "Start", search for “Control Panel” and click on it.
Step 3: In the Control Panel, select "Network and Internet".
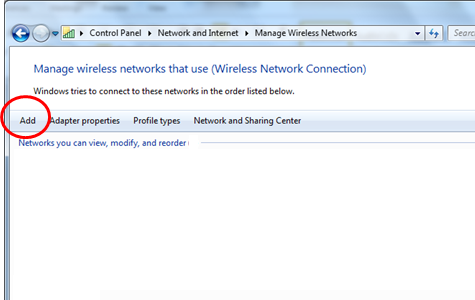
Step 4: On the left hand side, click on "Manage Wireless Networks" and in the next window, click on the “Add” button.
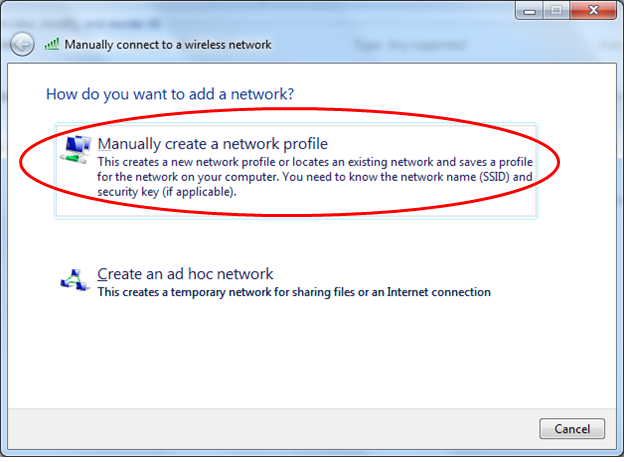
Step 5: Next, click on "Manually create a new profile".
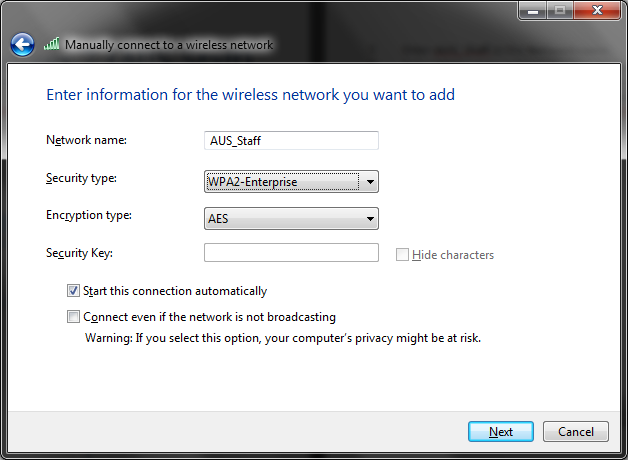
Step 6: Fill out the information about the new network to be created as shown below and click on "Next". Make sure that "Start this connection automatically" is checked.
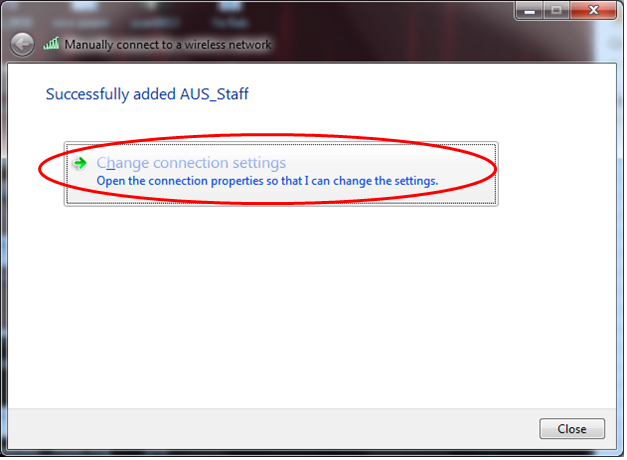
Step 7: After adding the new network, click on "Change connection settings".
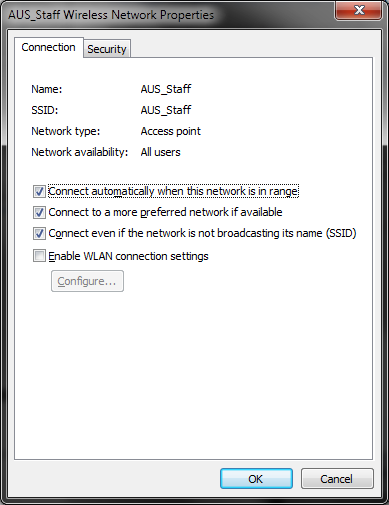
Step 8: In the "AUS_Staff Wireless Network Properties" window, click on the "Connection" tab and check all the boxes as shown below.
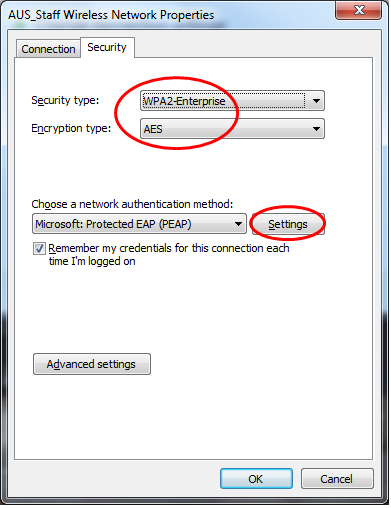
Step 9: Next, under the "Security" tab make sure that the "Network Authentication Method" is chosen to be "Microsoft: Protected EAP (PEAP)" and click on the "Settings" button.
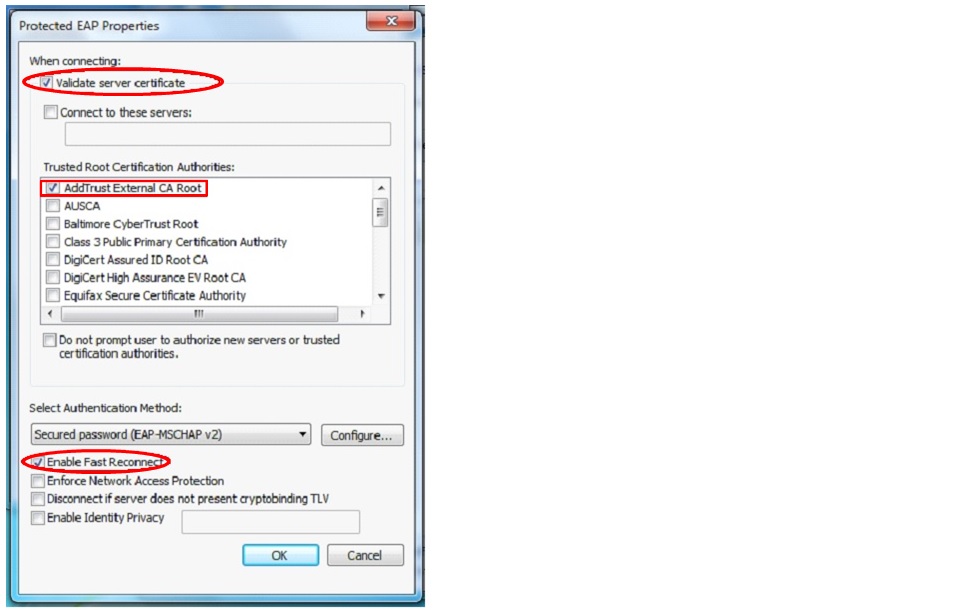
Step 10: In the next window, check "Validate server certification" and choose " Add check "Enable fast reconnect".
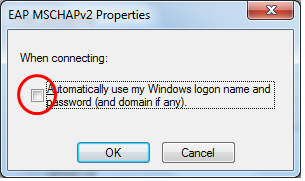
Step 11:In the next window, uncheck "Automatically use my Windows logon name and password" and click on OK twice.
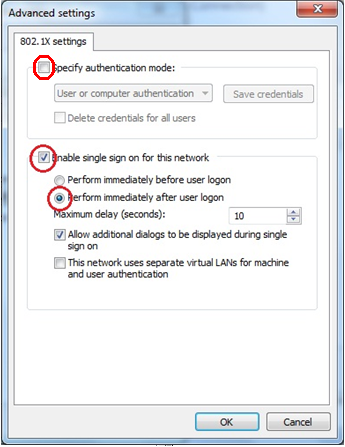
Step 12: Back at the "AUS_Staff Wireless Network Properties", click on the "Advanced" button on the bottom.
- Uncheck the "specify authentication mode" option.
- Check the "Enable single sign on for this network" option.
- Check the "Perform immediately after user logon" option.
- Click OK twice.
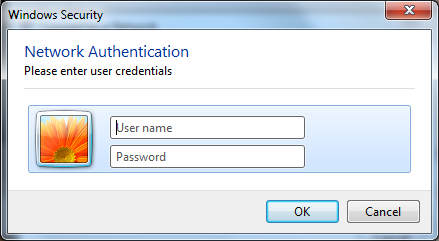
Step 13: When Windows detects the Wireless network, a balloon pops up (near the clock on the task bar). Clicking on this opens a window that prompts for a Username and Password. Enter your AUS Username and Password and Click on OK.
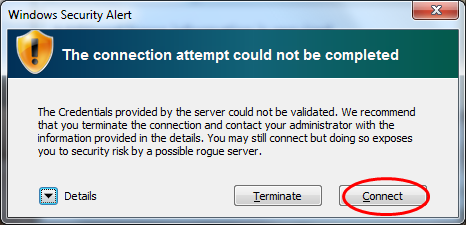
Step 14:If this next window pops up, just click on "Connect". You are now connected to AUS_Staff.