
Posted on: 6 November, 2019 - 12:58
Step 1: Open a web browser and go to the following URL: www.fastsupport.com.
Step 2: Enter your name and support key which is given by the IT. You must call the IT office in your College to obtain the support key.
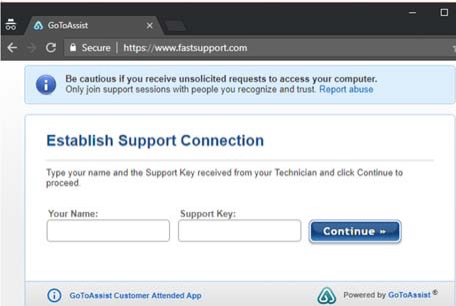
Step 3: Click on Continue. The website will now ask you to download the software.
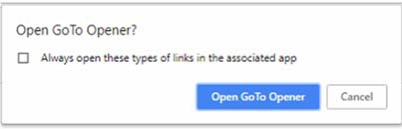
To download the software, do one of the following:
Click “Open GoTo Opener”
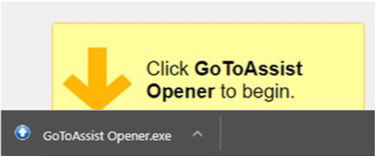
OR Click on the software to support the session
Step 4: A message will appear on the screen to allow the IT support to connect to your computer. Click Yes.
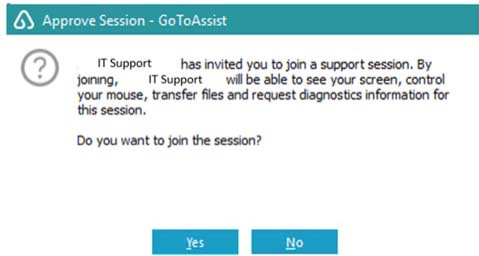
The IT staff will now be able to support you.
For Mac Users:
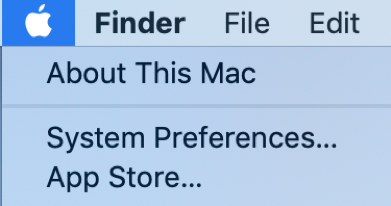
Step 5: Open System Preferences on your device.
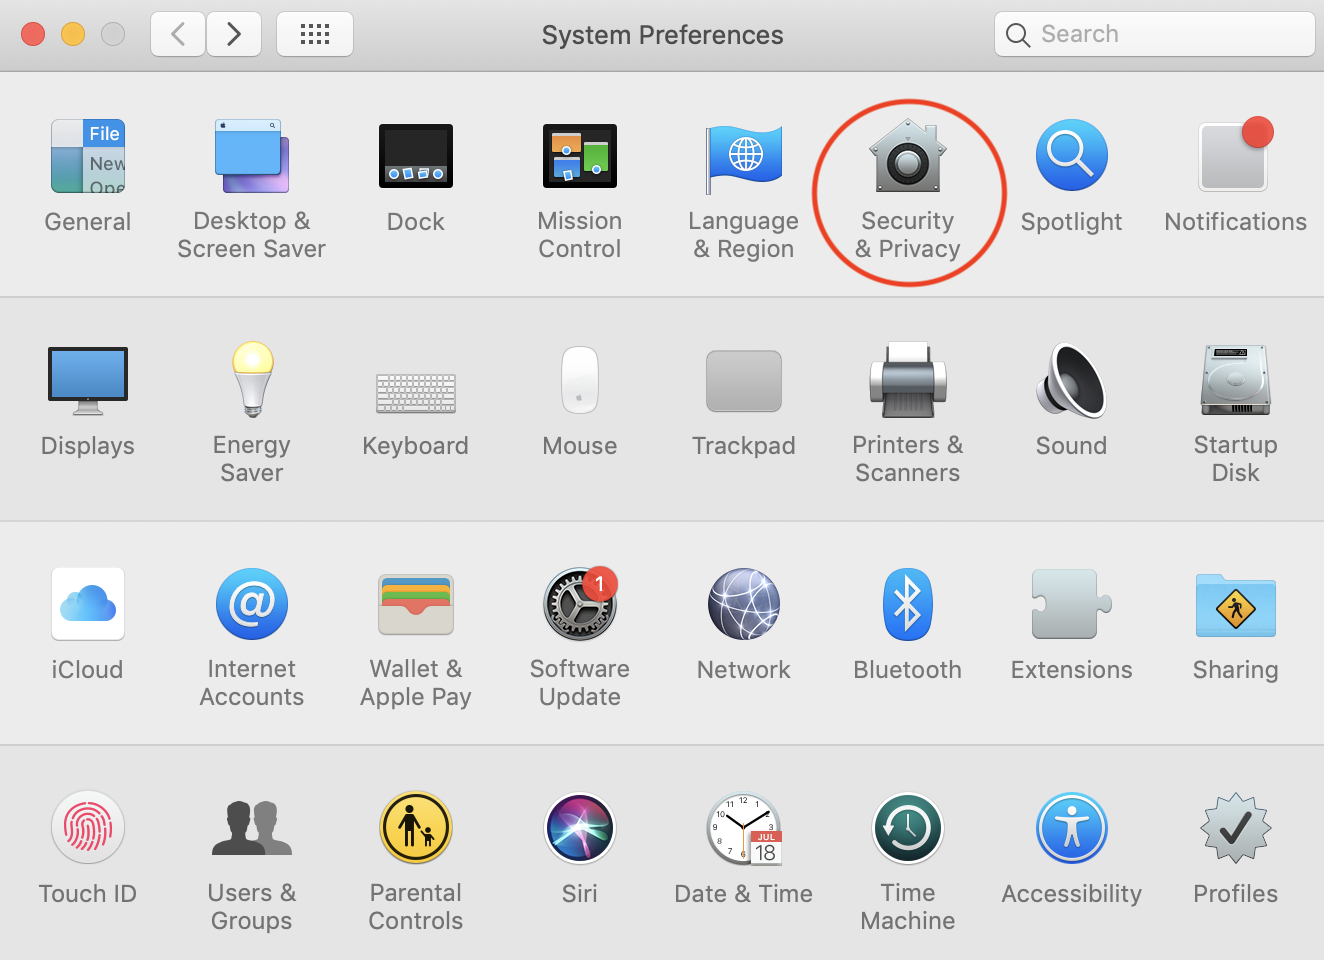
Step 6: From System Preferences, select Security & Privacy.
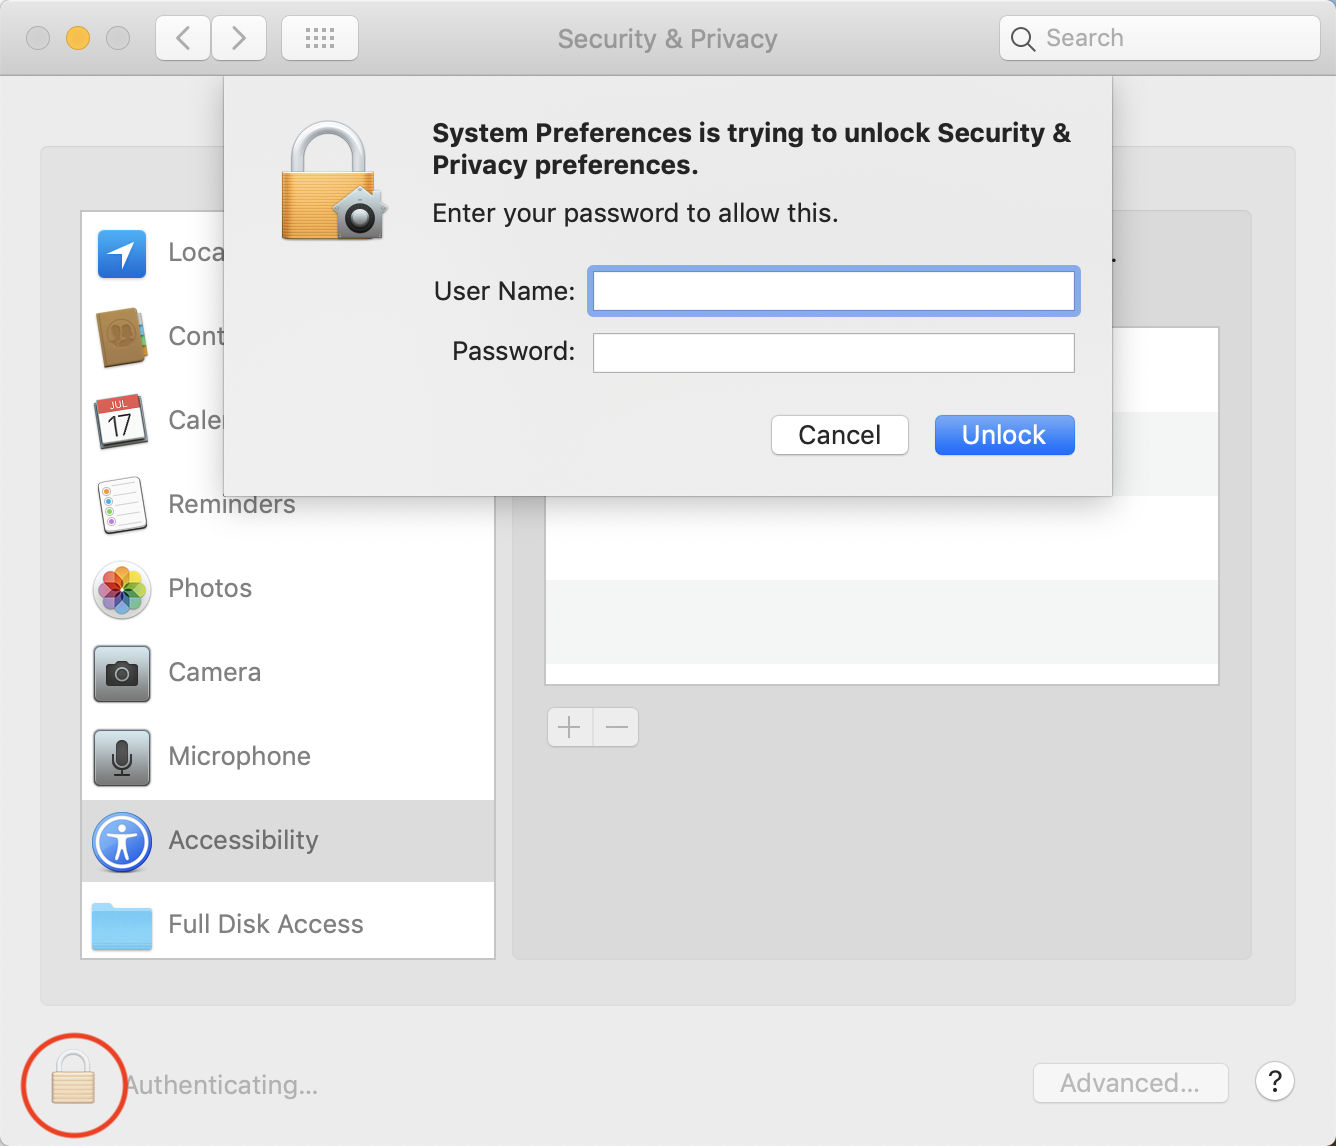
Step 7: Unlock the Security & Privacy preferences by clicking on the lock icon in the bottom left corner and enter the computer username and password.
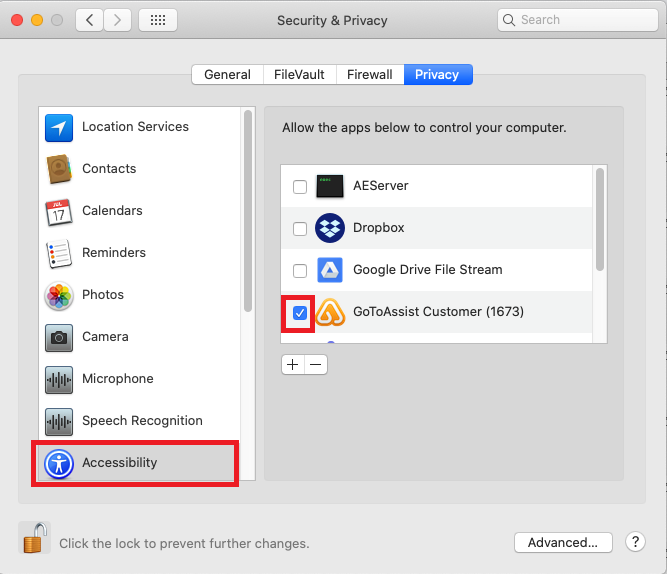
Step 8: In the left side bar, click Accessibility, and make sure the GoToAssist box is checked.
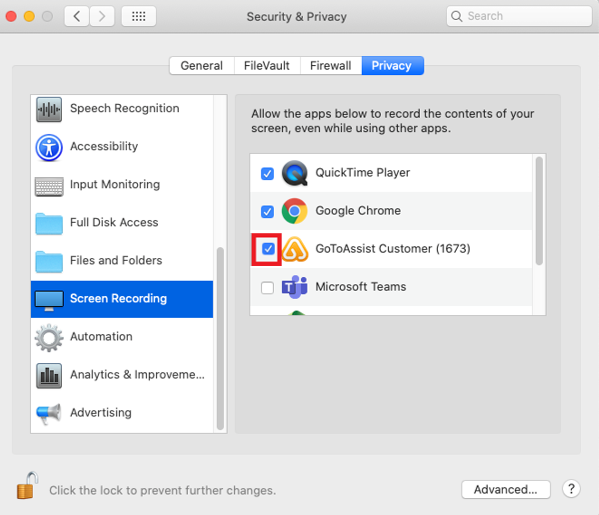
Step 9: (If applicable) In the left side bar, click Screen Recording, and make sure the GoToAssist box is checked.
 \
\
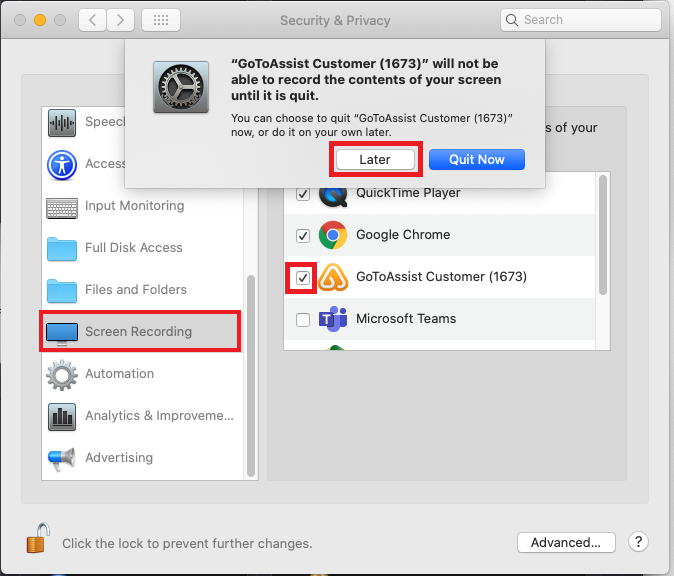
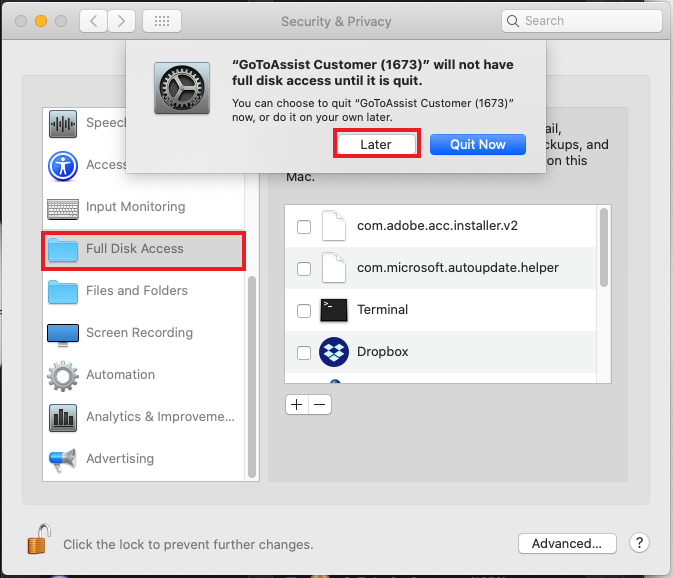
Step 10: Click Later
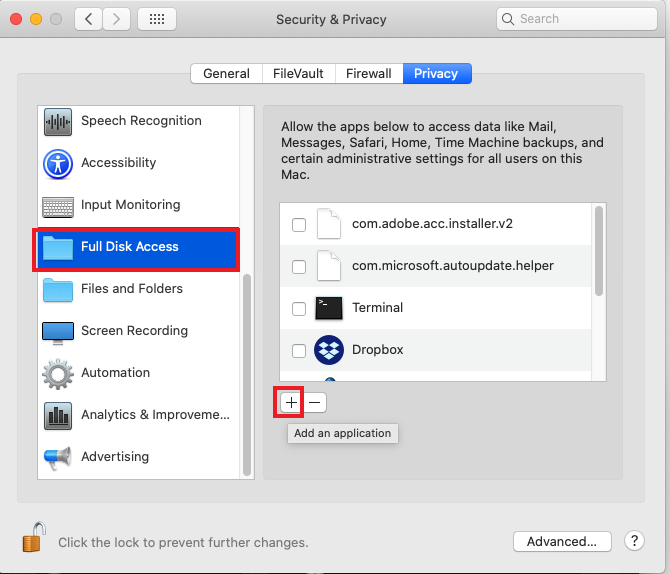
Step 11: (If applicable) In the left side bar, click Full Disk Access, and click on the plus sign.
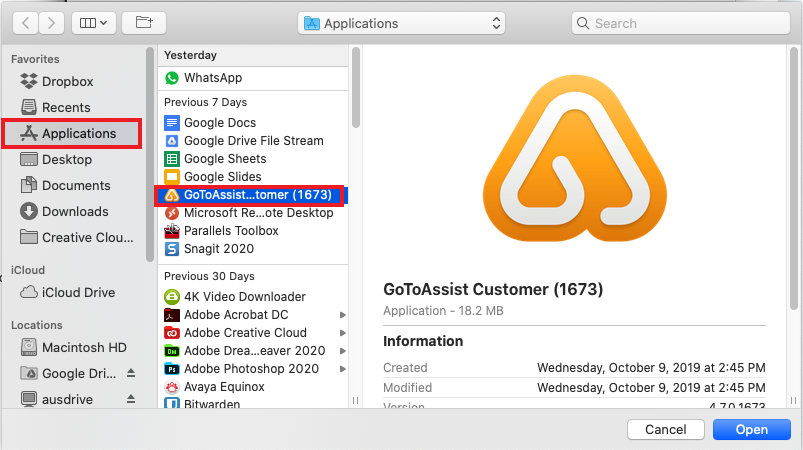
Step 12: In the left side bar, Click on Application menu, select GoToAssist, then click Open
Step 13: Click Later
Step 14: In the left side bar, click Full Disk Access, and make sure the GoToAssist box is checked.
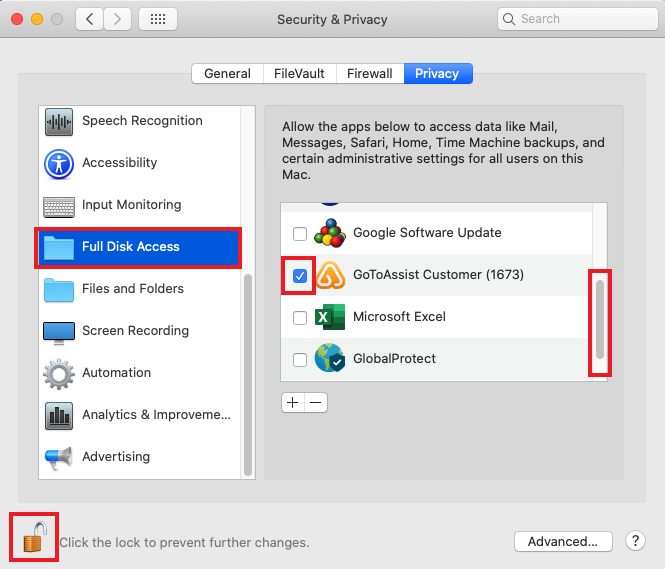
Note: Make sure that you successfully lock the Security & Privacy preferences to save the changes by clicking on the lock icon in the bottom left corner.