Posted on: 24 September, 2020 - 10:09
This guide consists of three parts to help you install and test WebAssign LockDown Browser OEM on Mac.
- Part I: System Check
- Part II: Install WebAssign Lockdown Browser on Mac machine
- Part III: Test WebAssign Lockdown Browser
Part I: System Check
Cengage web-based learning platforms require broadband internet access and supported web browsers and plugins. Before installing WebAssign check the following:
- System Requirement:
- Supported Browsers:
- System Check:
- Browser Settings:
- Bowser Plugins:
For WebAssign Student Help, go to https://webassign.net/manual/student_guide/introduction.htm.
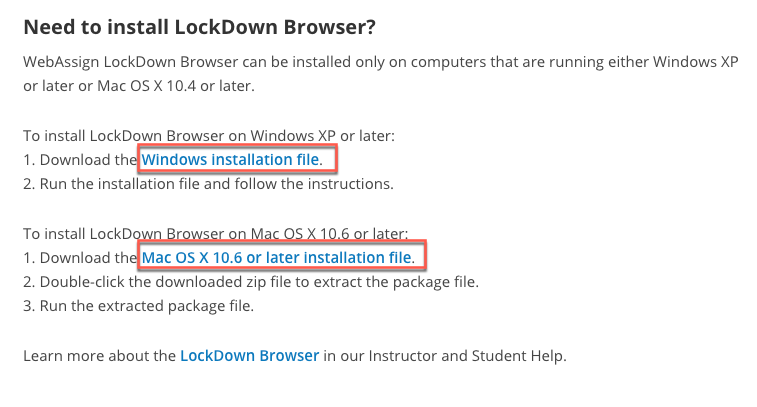
Part II: Install WebAssign LockDown Browser on Mac
Step 1: Go to https://webassign.com/instructors/features/secure-testing/lockdown-browser/ to install WebAssign lockdown browser.
Step 2: Download the software.
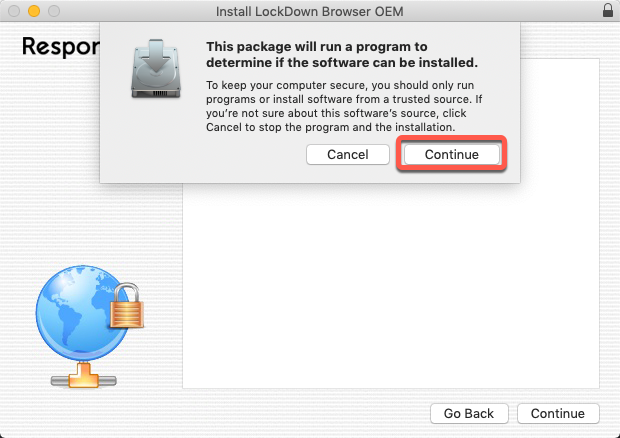
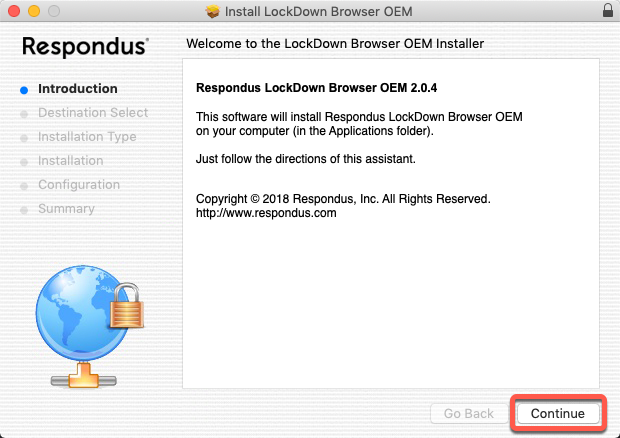
Step 3: Follow the steps below to install WebAssign Lockdown.
- Click Continue.
- Click Continue.
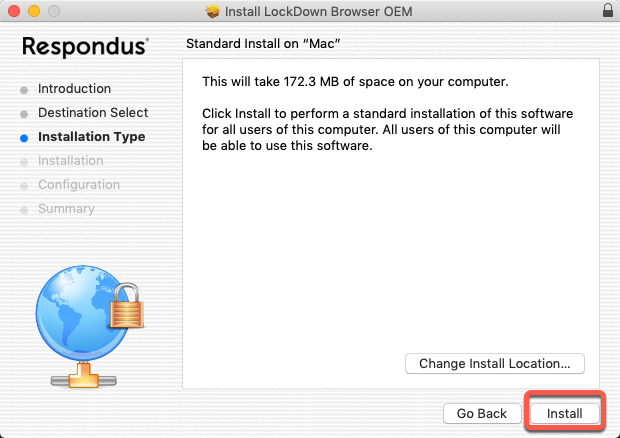
- Click Install.
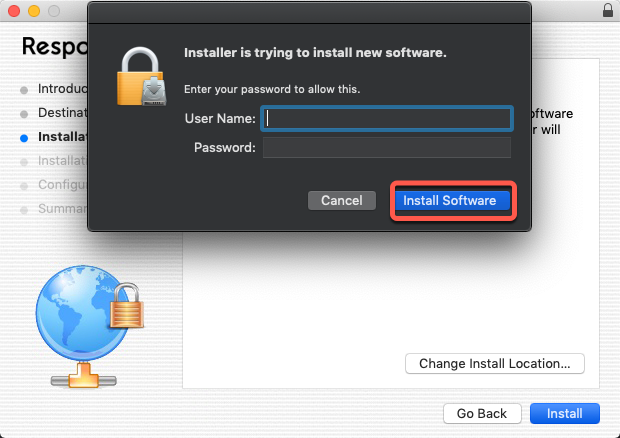
- Enter your computer's credentials.
- Click on Install Software.
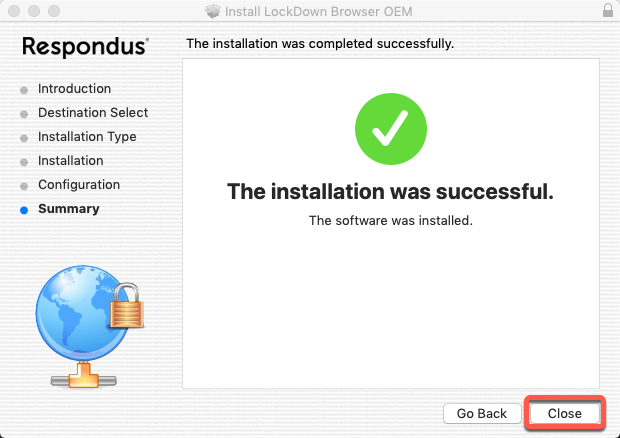
- Click Close.
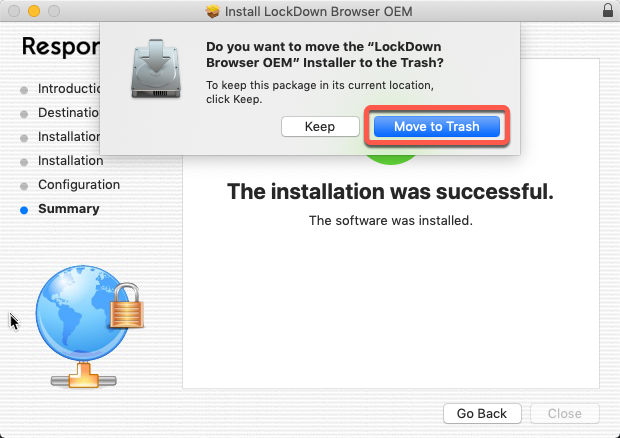
- Click Move to Trash.
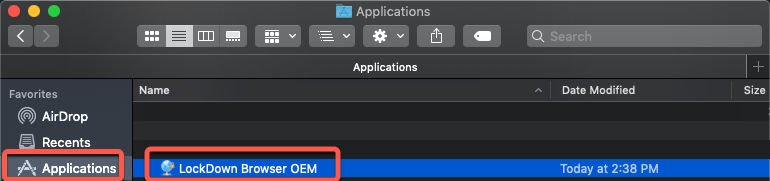
Step 4: Confirm that the application was installed and appears in the Applications folder.
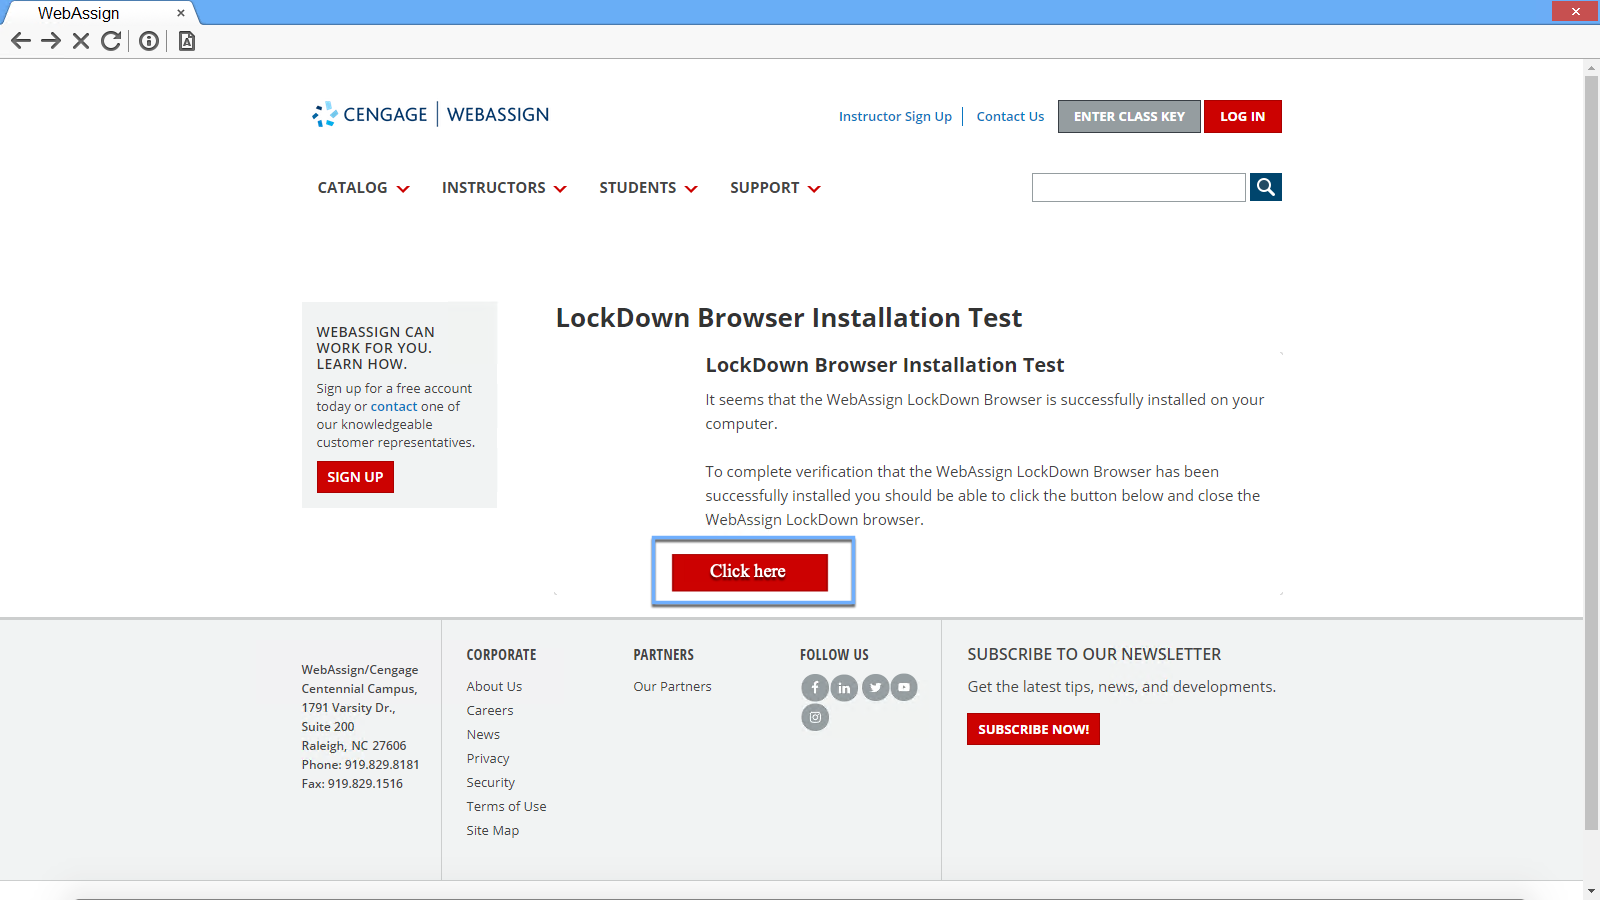
Part III: Test WebAssign Lockdown Browser
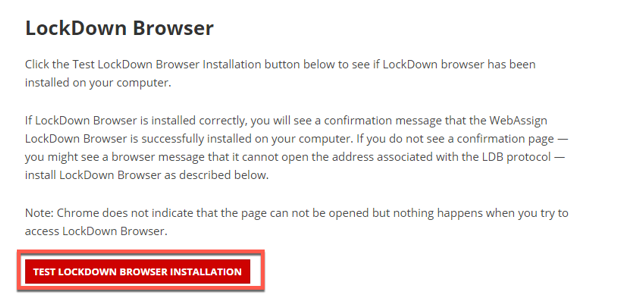
Step 1: Go to https://webassign.com/instructors/features/secure-testing/lockdown-browser/ to test the WebAssign lockdown browser.
Step 2: Click on Test Lockdown Browser Installation.
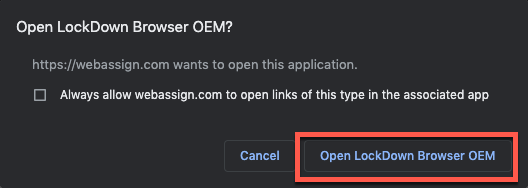
Step 3: Click on Open LockDown Browser OEM.
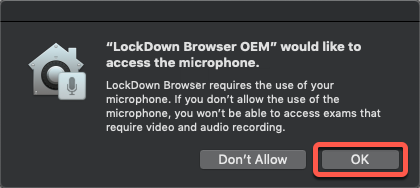
- Click OK.
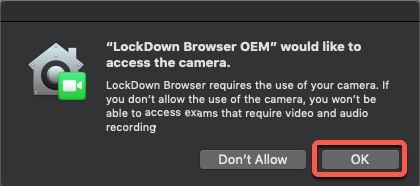
- Click OK.
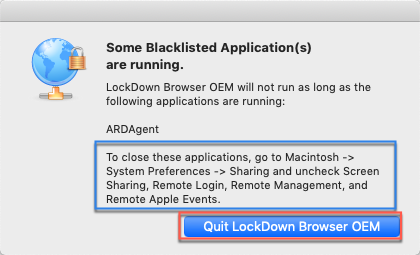
- Click on Quit LockDown Browser OEM.
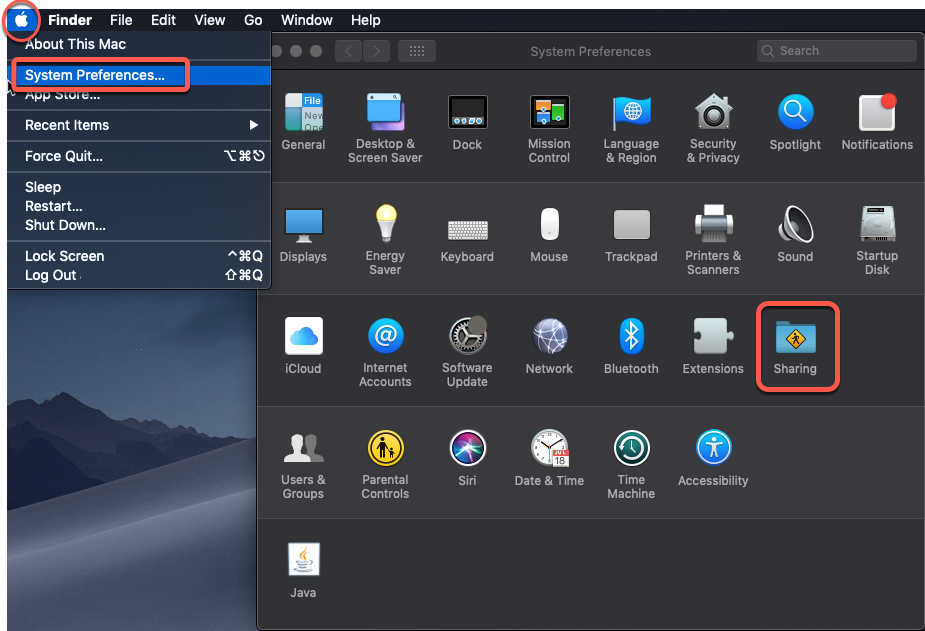
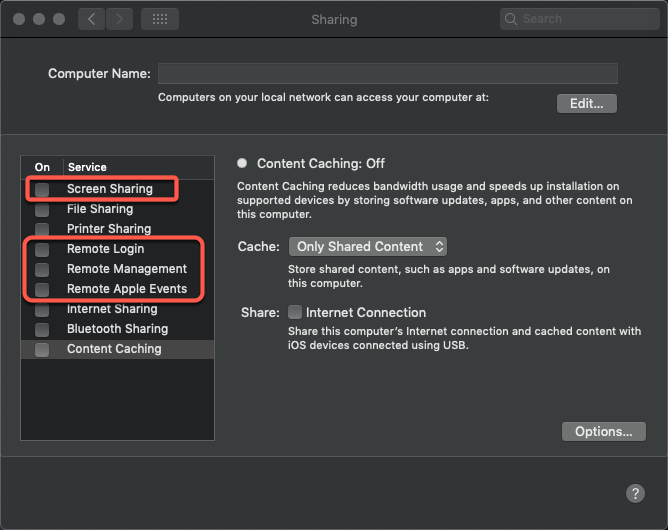
- Navigate to System Preferences.
- Click on Sharing.
-
Make sure the following checkboxes are not checked:
- Screen Sharing
- Remote Login
- Remote Management
- Remote Apple Events
Step 4: Back on the WebAssign website, click on Test Lockdown Browser Installation again.
Step 5: Click on Click here, as shown below.
Note: To verify that the WebAssign LockDown Browser has been successfully installed, you should be able to click the button below and close the WebAssign LockDown browser.