
Posted on: 20 October, 2020 - 14:52
Recording presentations is a useful feature on Microsoft PowerPoint, which enables adding a vocal explanation to existing slides. Making it easier for students to understand content and get an experience that is similar to live class delivery. To have good narration, it may be helpful to prepare a script before recording a presentation. Practice reading through the script a few times so that the narration sounds natural and fluid.
To start recording a Powerpoint presentation, you can do the following:
Step 1
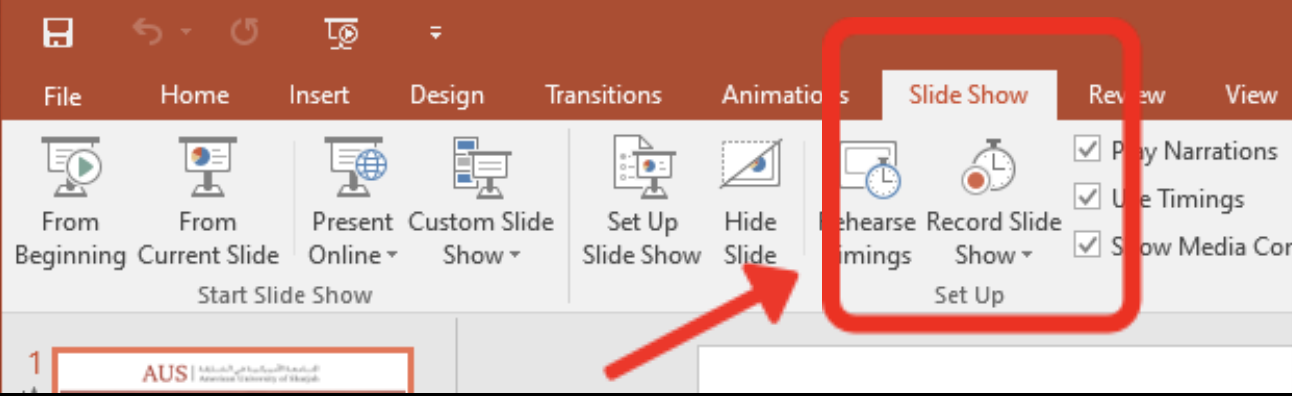
Open the PowerPoint presentation in which you would like to record a voiceover narration. Navigate to “Slide Show” tab and select “Record Slide Show” as seen in the image below:
Step 2
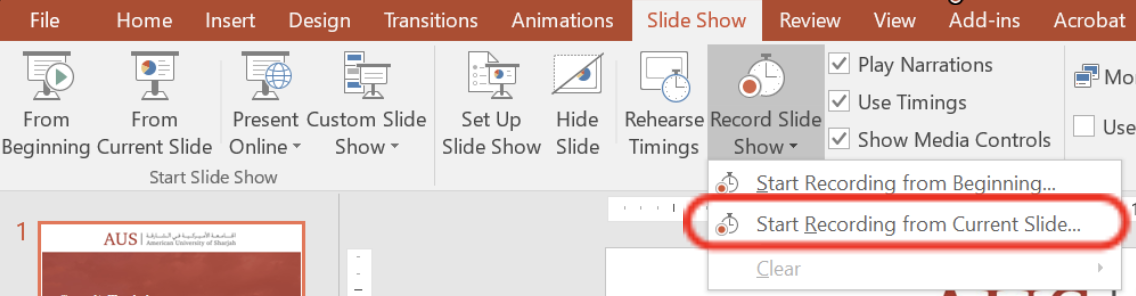
To record from the current slide and not the beginning of your presentation, you can click on the dropdown and then select your preferred option. If you choose to start recording from the current slide, make sure that you’re on the slide you would like to start recording. By default, when clicking “Record Slide Show” without expanding the dropdown menu, recordings will start from the beginning of the presentation.
Step 3
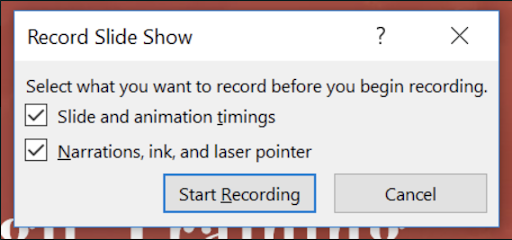
Once you select any of the two options, a dialog box will appear from which you can choose what to be included in the recording.
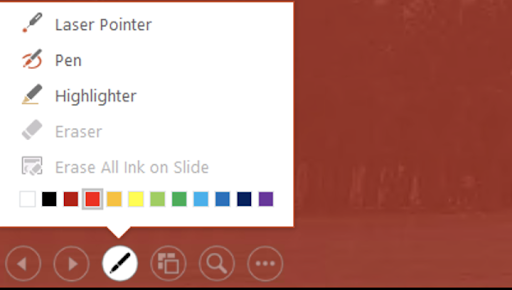
Other than voice overs, recordings can include edits done on slides during the slideshow, such as using ink to hand write or doing highlights on slides. They can also include laser pointers to record mouse movements. These Editing options can be found at the bottom-left corner after starting a slideshow.
Additionally, recordings can include mouse clicks to start slide animations and clicks to transition to other slides. Recording slide animations and timings make it easy for students to watch recordings without timing their mouse clicks to match the voice narration. Note that recording slide and animation timings will overwrite any old timings if they were previously set.
After checking the desired checkboxes from the dialog box, click on the ‘Start Recording’ button.
Step 4
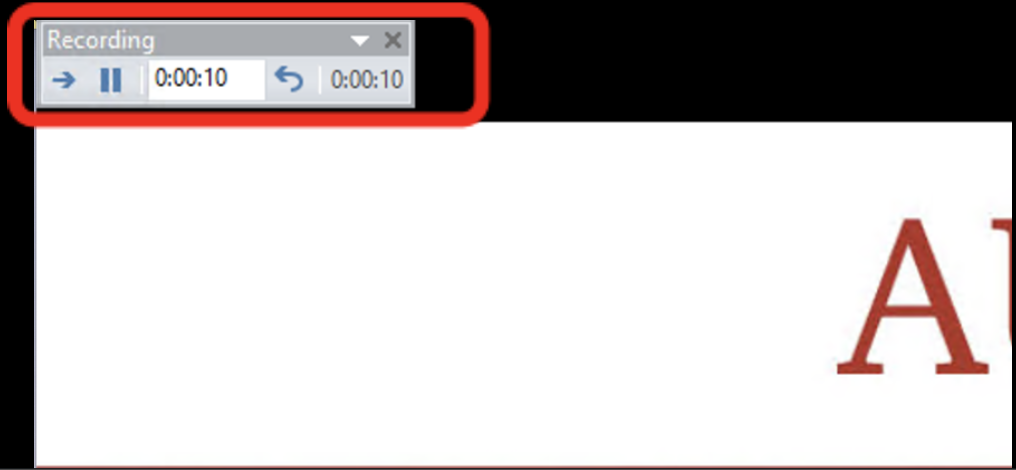
Now, you’ll be in the full-screen slideshow mode and you can start recording your voiceover narration. You will notice a small box at the top-left corner of the screen which shows the recording progress and gives you a few other options. Continue through the presentation by clicking the right arrow to go to the next slide.
Step 5
Once you reach the last slide, the recording will automatically end. After saving the recording, a speaker icon will appear at the bottom-right corner of each slide that has a recorded narration. You can also play your narration on each slide by hovering over the icon and then pressing the play button.

Now every time you start the slideshow for the presentation, the recorded explanation will play, along with any highlighting, writing or laser pointing done on the slides.
If you’re not satisfied with the narration saved, simply repeat the steps to re-record.