Posted on: 24 March, 2020 - 09:07
Step 1: Install VirtualBox through https://www.virtualbox.org/wiki/Downloads and click on “OS X Hosts”.

Step 2: Click on the downloaded file and then click on “VirtualBox.pkg”.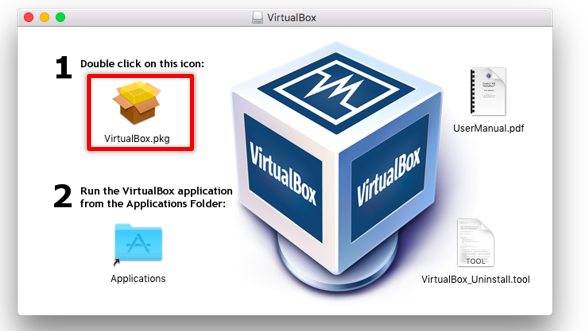
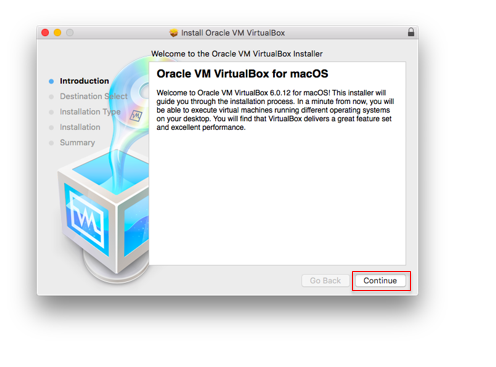
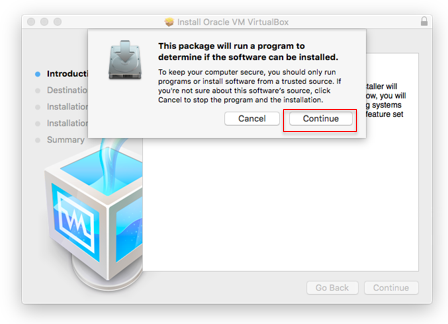
Step 3: Follow the installation steps as per the images below.
- Click Continue
- Click Continue
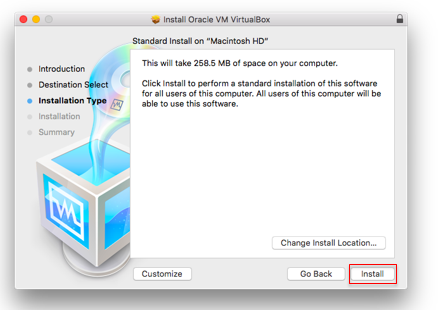
- Click Install
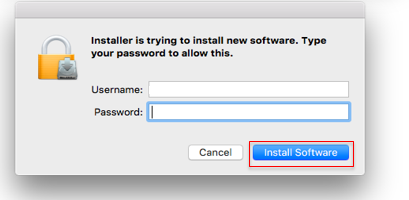
- Enter your device username and password and click Install Software
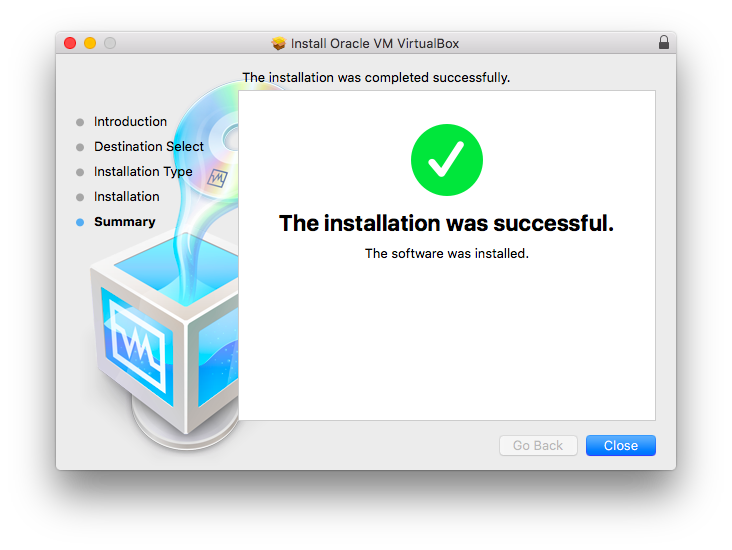
- Click Close
Step 4: For more detail about accessing Microsoft Azure refer to https://itfaq.aus.edu/faq/436
- Sign in using to AUS login credentials to https://azureforeducation.microsoft.com/devtools
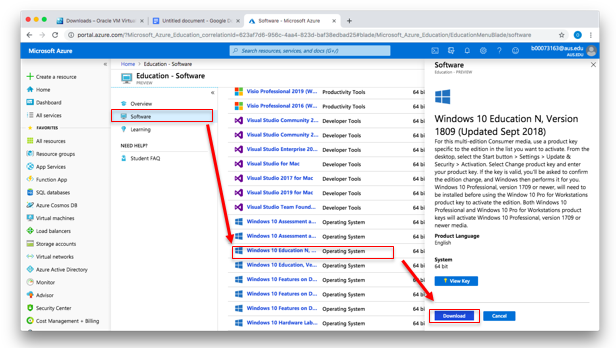
- click on “Software” and then scroll down to “Windows 10 Education N” and then click on the download button (might take a while depending on the internet connection speed).
- Make sure to note down the product key/serial number as it is needed during/after the installation
Step 5: Open the VirtualBox program and click on “New”.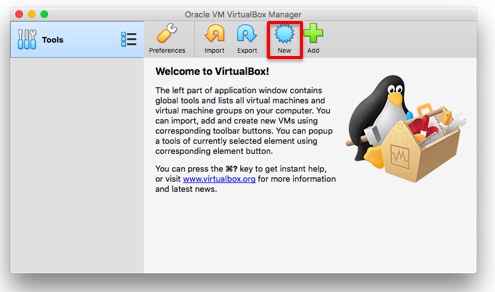
Step 6: A menu will roll down. Enter the following information, then click continue
- Name: Windows 10
- Type: Microsoft Windows
- Version: Windows 10 (64-bit)

Step 7: Slide the memory size to the middle of the slider. (recommended is 2048 MB)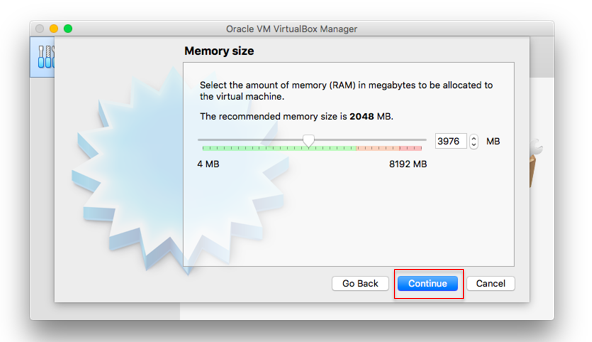
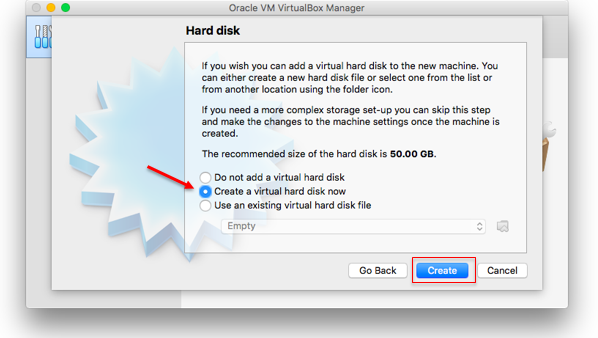
Step 8: On the hard disk window, make sure “Create a virtual hard disk now” is chosen and click on “Create”.
Step 9: On “Hard disk file type”, make sure “VDI” is chosen and click continue.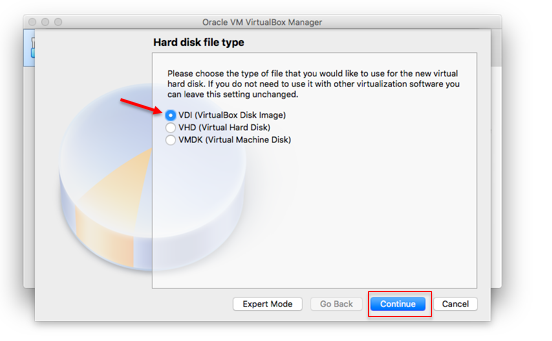
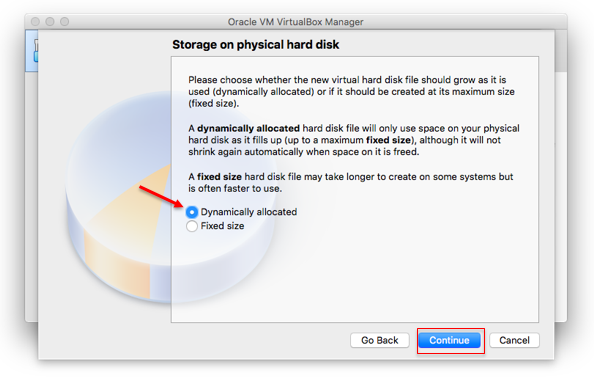
Step 10: Click on “Dynamically allocated” and then click “Continue”.
Step 11: In the “File location and size” window, slide the slider to 120GB and click on “Create”.
Step 12: Open the newly created profile "Windows 10" and click Settings. 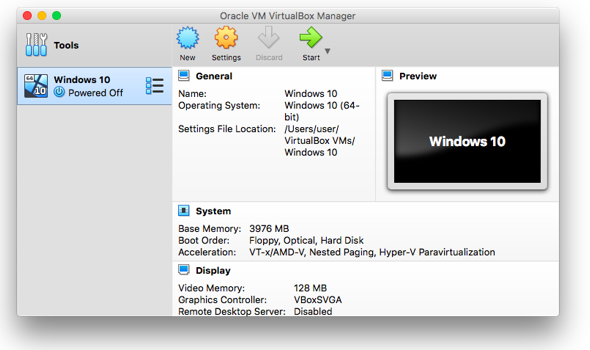
Step 13: Click on the “System” to change the boot order option, untick “Floppy” and move “Hard disk” to the top using the arrows and click OK.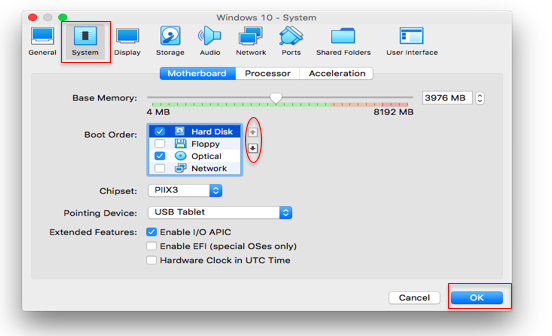
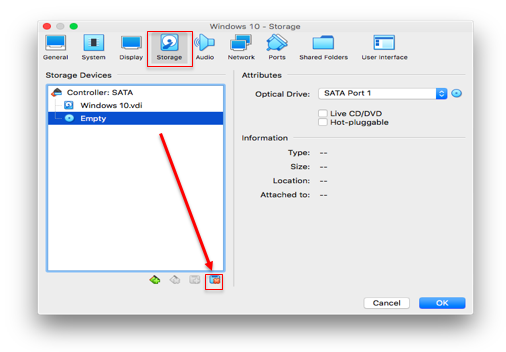
Step 14: Go to the storage tab and remove the profile “Empty” using the X button.
Step 15: Click on “Windows 10.vdi” and tick the “Solid-state drive” option.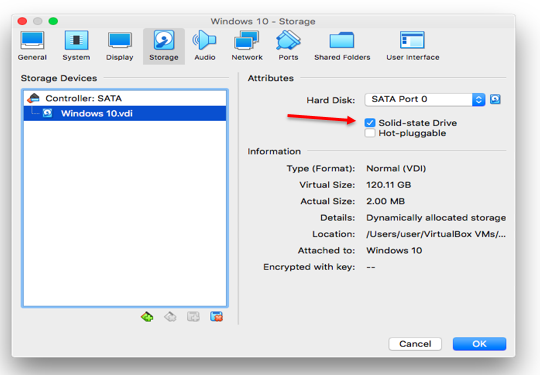
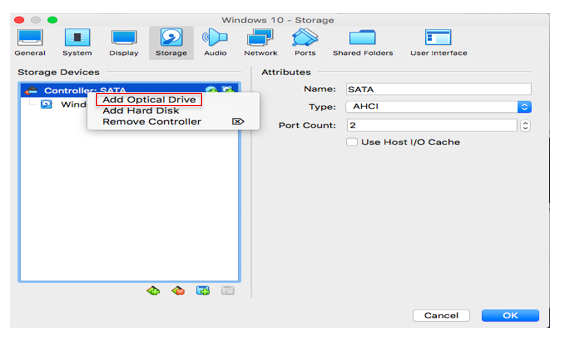
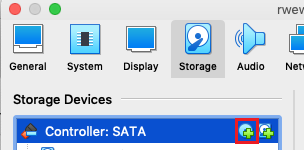
Step 16: Click on “Controller: SATA” and right click, then choose “Add Optical Drive”
- or click on optical drive button
- Click on Add and choose the downloaded “Windows 10” ISO file installed from the Azure website.
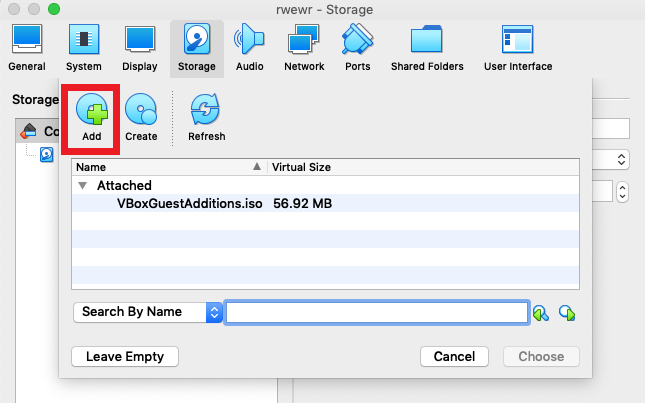
- Select the Windows10 ISO file as shown below and then click on Choose

Step 17: Click on the newly added profile and tick the “Live CD/DVD” box and then click OK.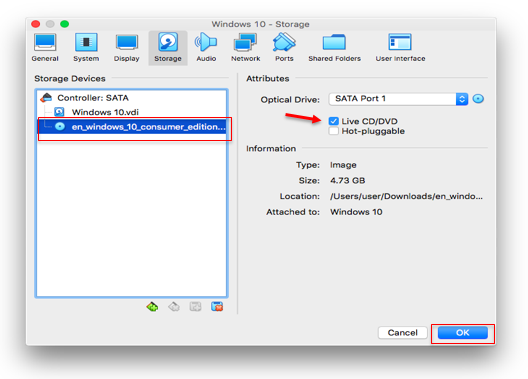
Step 18: Click on “Start” to run Windows 10.

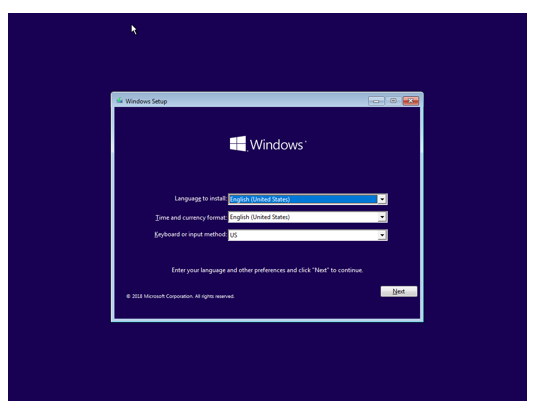
Step 19: Follow the steps below to install windows
- Click Next
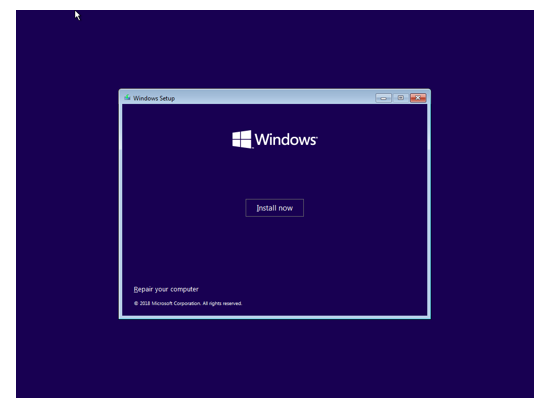
- Click Install
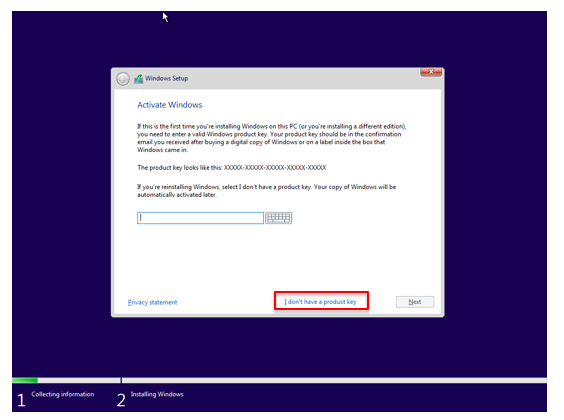
- Refer to Step 4 for the product key (Note: you can either enter the product key in this Step or after the installation is completed in Step 23 )
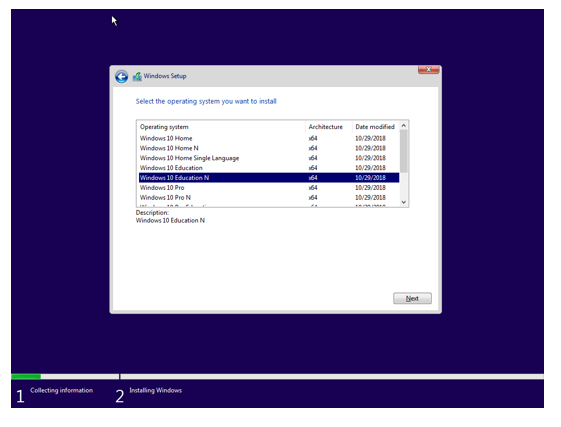
- Select Windows 10 Education N. Then click Next
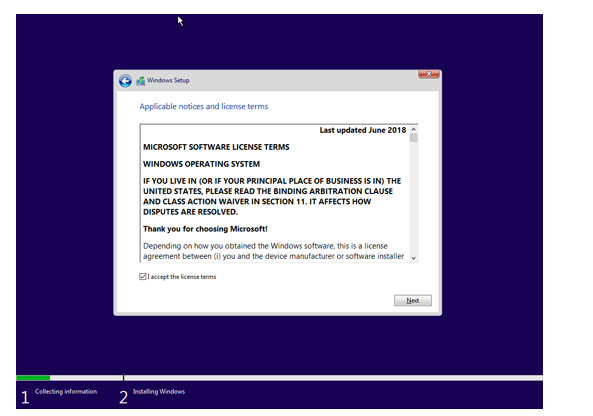
- Click Next
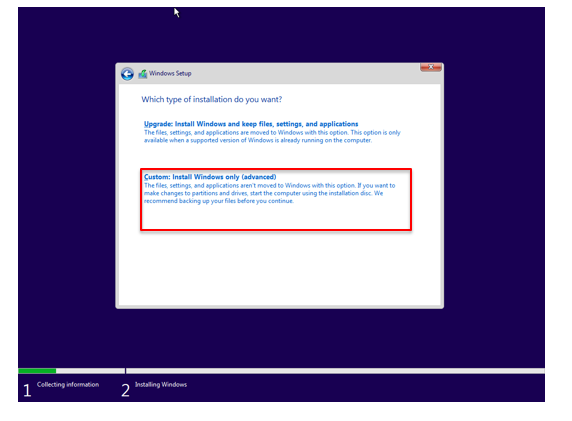
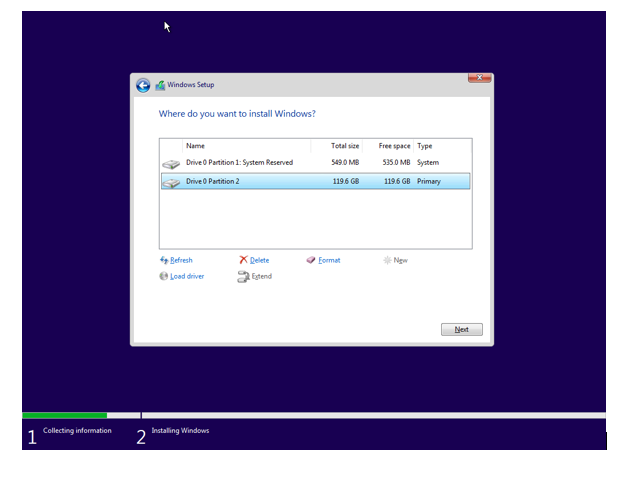
- Click on Custom
- Click on New
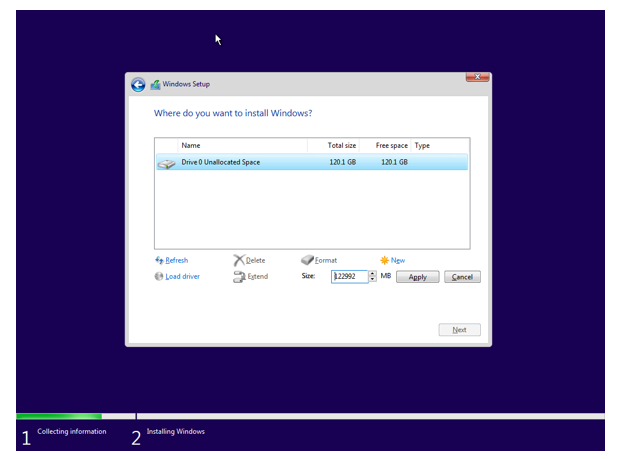
- Click Next
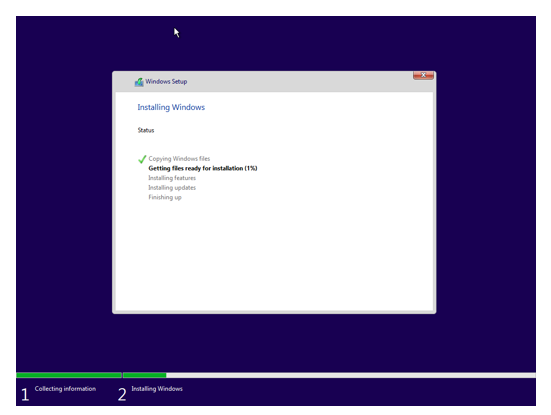
- Choose the region
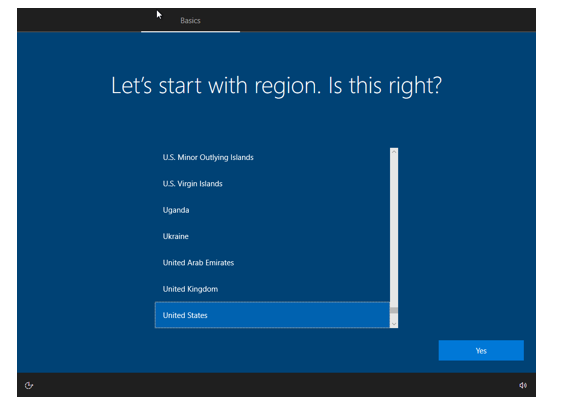
- Click on Domain join instead
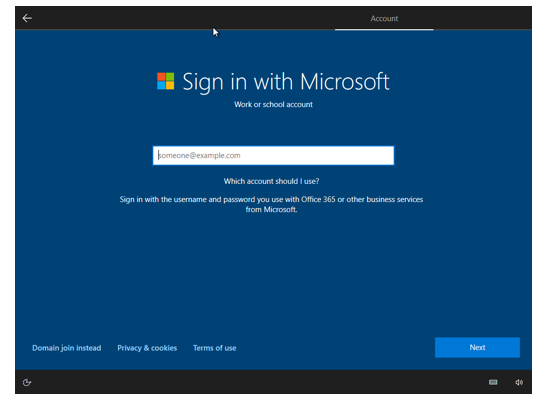
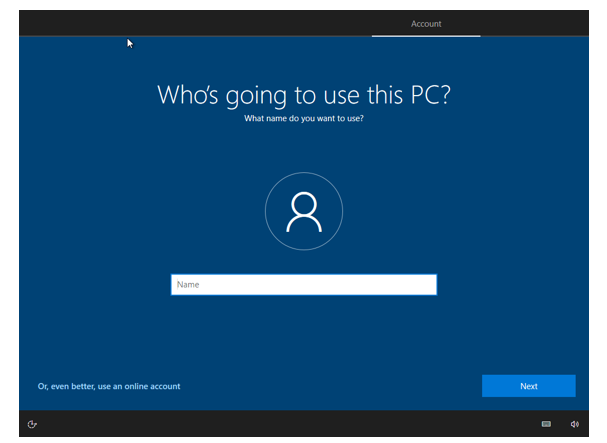
- Enter a username and click Next. On the next page enter a password
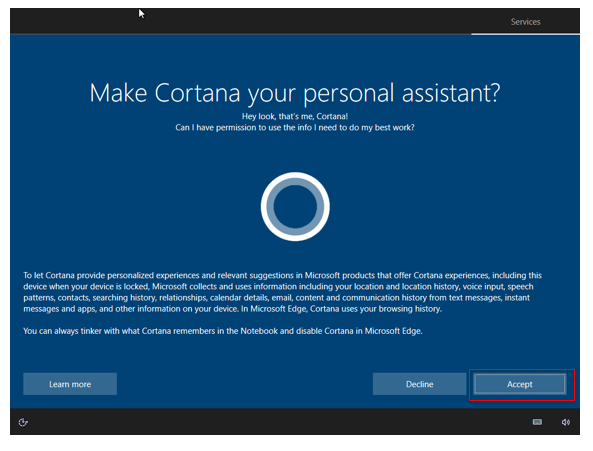
- Click Accept
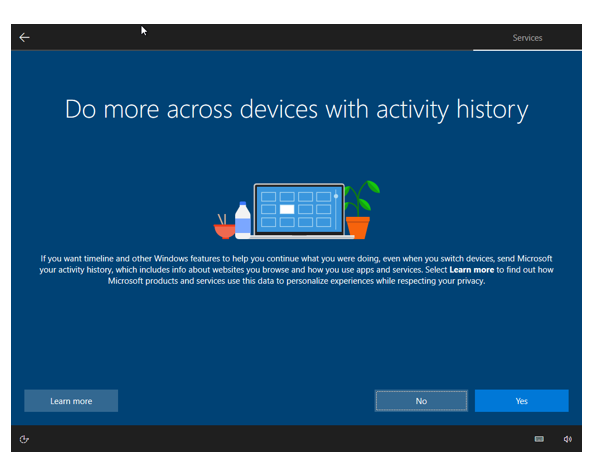
- Click No
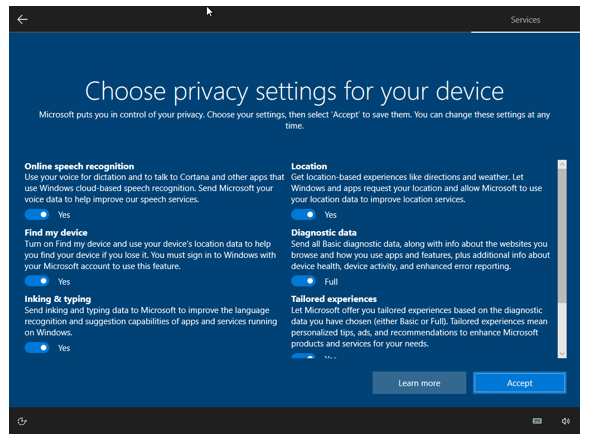
- Click Accept
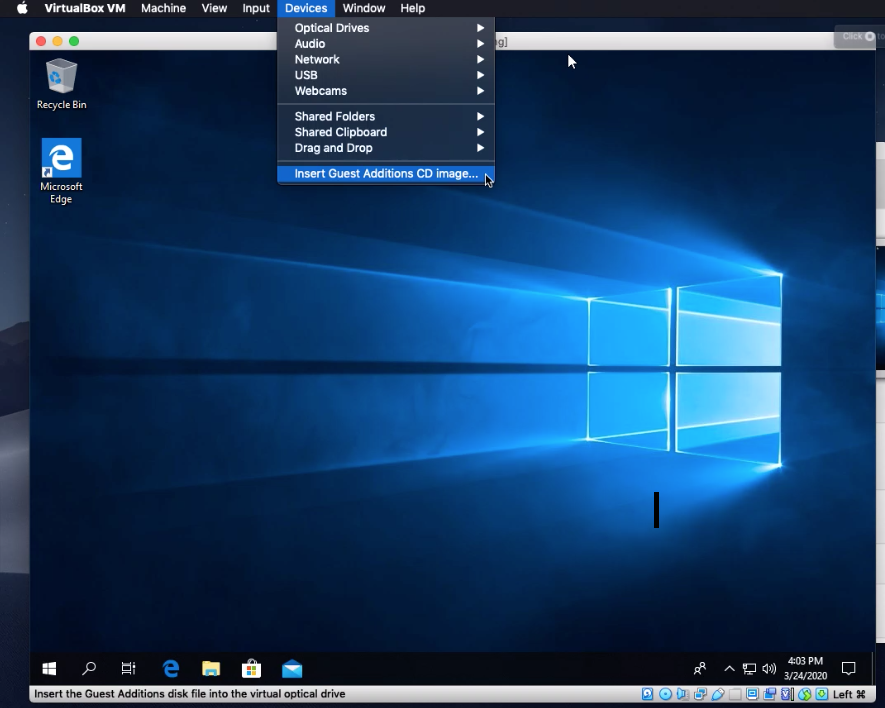
Step 20: After following the Windows installation steps, on MacOS, go to the “Devices” tab, then click on “Insert Guest Additions CD Image”
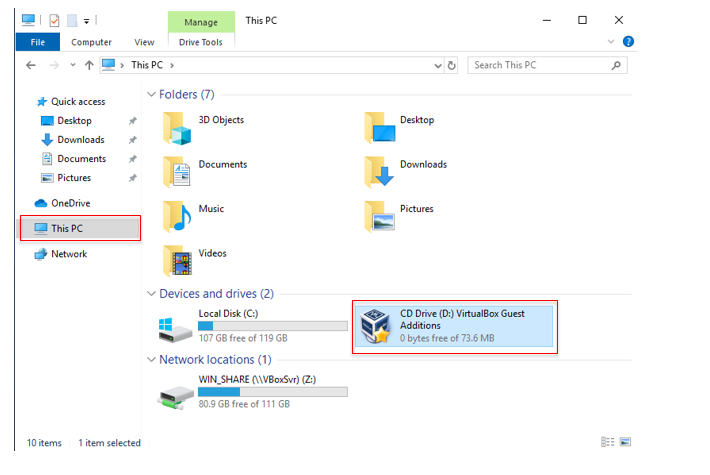
Step 21: On windows, go to “This PC”, click on “CD Drive (D:) VirtualBox Guest Additions”
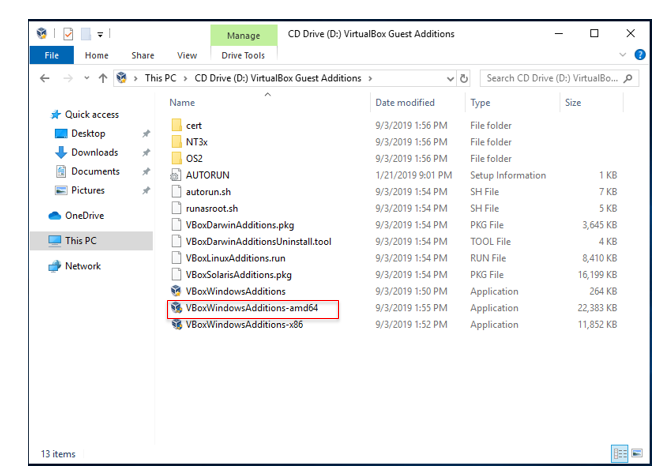
- click on “VBoxWindowsAdditions-amd64” and install it
Step 22: On Windows, click on the Windows icon in the bottom-left corner and type “Activation” and press enter.

Step 23: On the new window, click on “Change Product Key” and enter the Product Key available on the Azure website that was opened earlier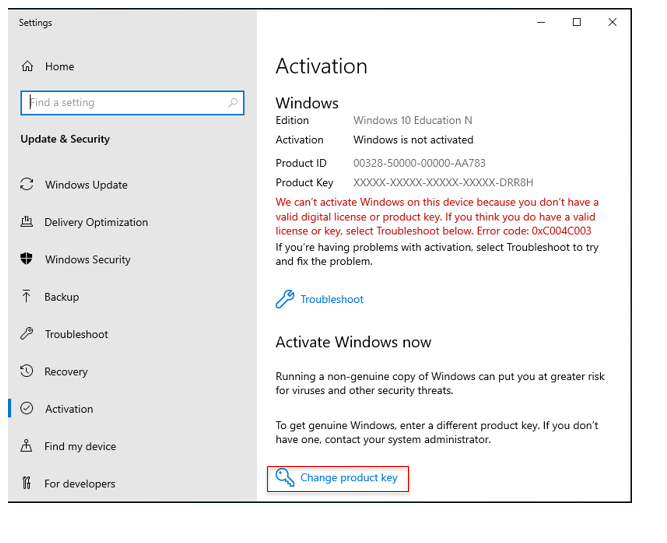
Creating a Shared folder to share files between MacOS and Windows
Step 24: Create a new folder called “WIN_SHARE” in the MacOS Desktop
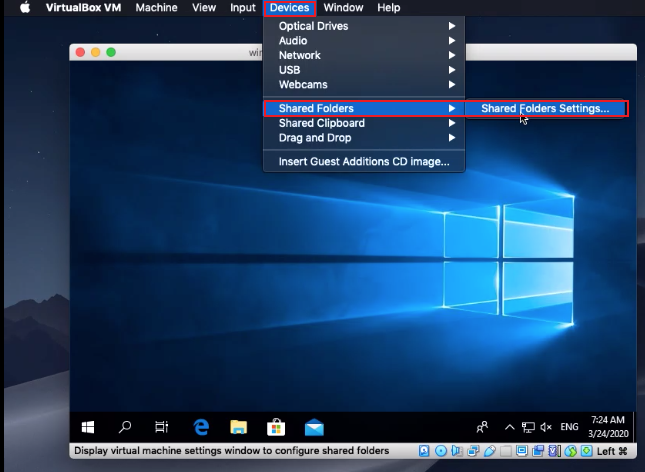
Step 25: On MacOS, go to “Devices” then “Shared Folder” then “Shared Folder Settings.
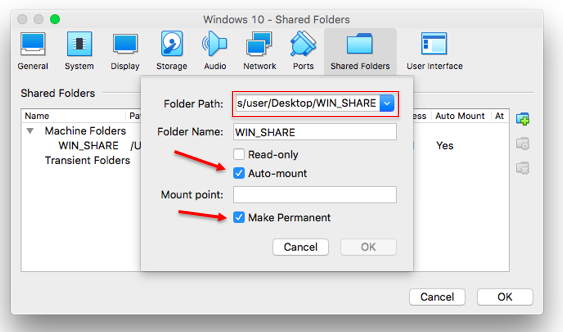
Step 26: In the new popup box, click on the + sign to add a folder.

Step 27: On the roll down window, click choose the folder path where you created the “WIN_SHARE” folder earlier. Tick “Auto mount” and “Make permanent”
Step 28: Click on OK in both the boxes.
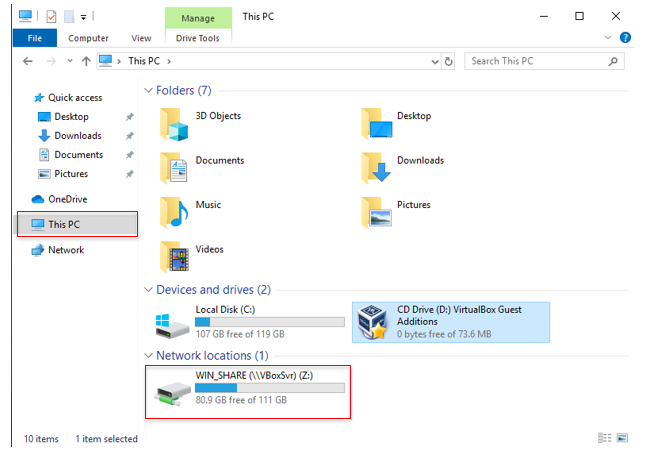
- The folder on the Windows machine will be located in “This PC” under Network locations