Posted on: 21 May, 2020 - 21:26
In order to learn how to manage Drop-In Sessions on Blackboard Collaborate with Breakout Groups, you can either follow the video tutorial or the step-to-step guide below.
Important to Note:
- In Walk-in situations we will treat the Main Room as Reception or Waiting Area while the Breakout Groups will be reserved for one-to-one or small group private interactions.
- Settings and access permissions apply to the Main Room. Within the Breakout group, Participants or Presenters will have the same access as the Moderator. For instance, they will be able to share and remove files, share their screens and access their camera and microphone.
- Only the Moderator has the ability to place all participants where they are needed in the Session.
- During walk-ins, once a new student enters a Breakout Group the chat history is automatically erased. However, files shared within the Breakout Group will still be visible and accessible to the new student. Hence, the Moderator will need to remove the files before a student enters.
Step 1: Navigate to ilearn.aus.edu and login with your AUS credentials
Step 2: Select the Course you would like to create the Drop-in Session for.
Step 3: From the left navigation menu click on Tools, and then select Blackboard Collaborate Ultra.

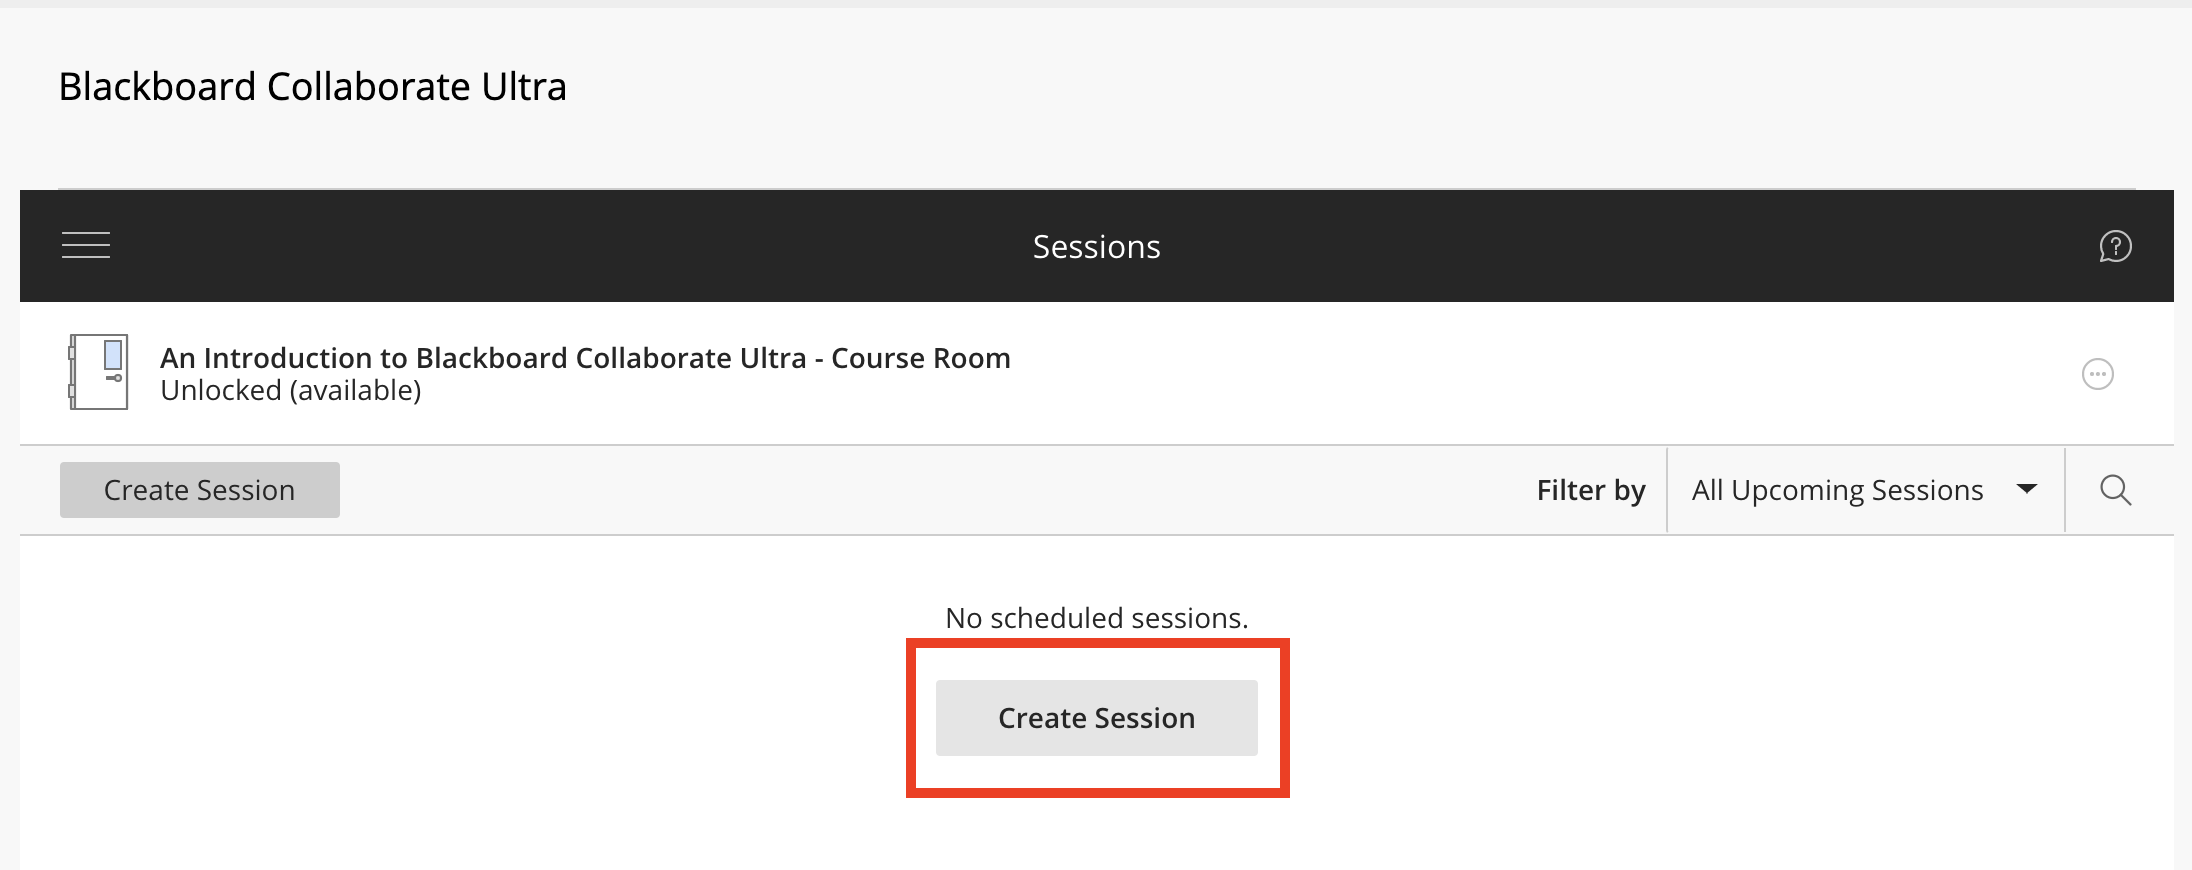
Step 4: On the resulting page, click on Create Session.
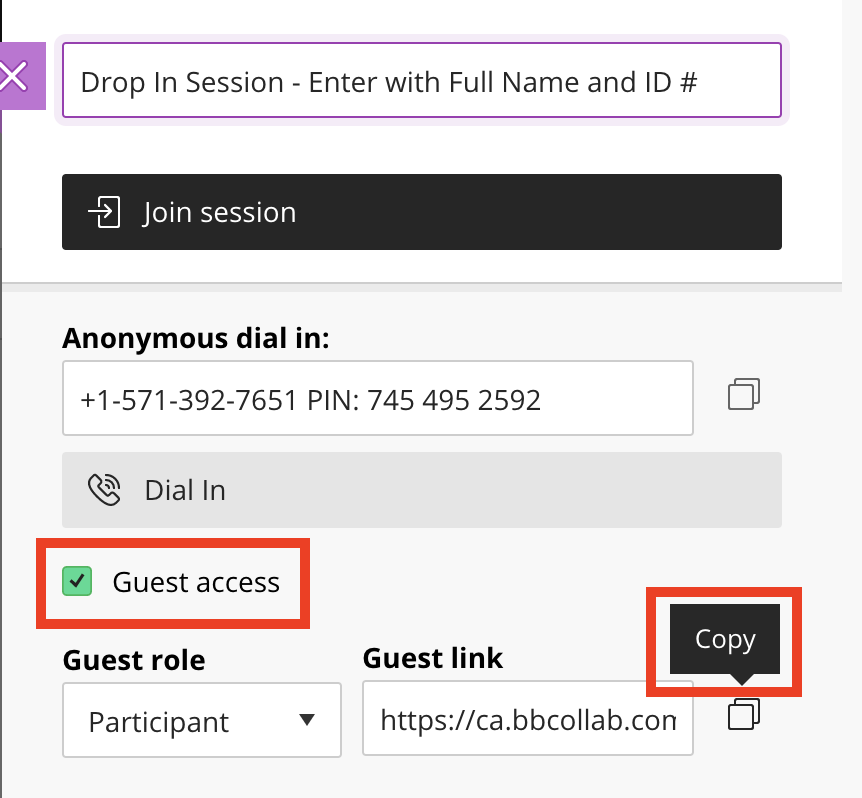
Step 5: Fill in the Session details. In the Name field you can instruct your students to enter the session with their Full Name and AUS ID.
Step 6: Check “Guest Access” in order to generate a URL specific to the role you select. Copy this link to send it to your class.
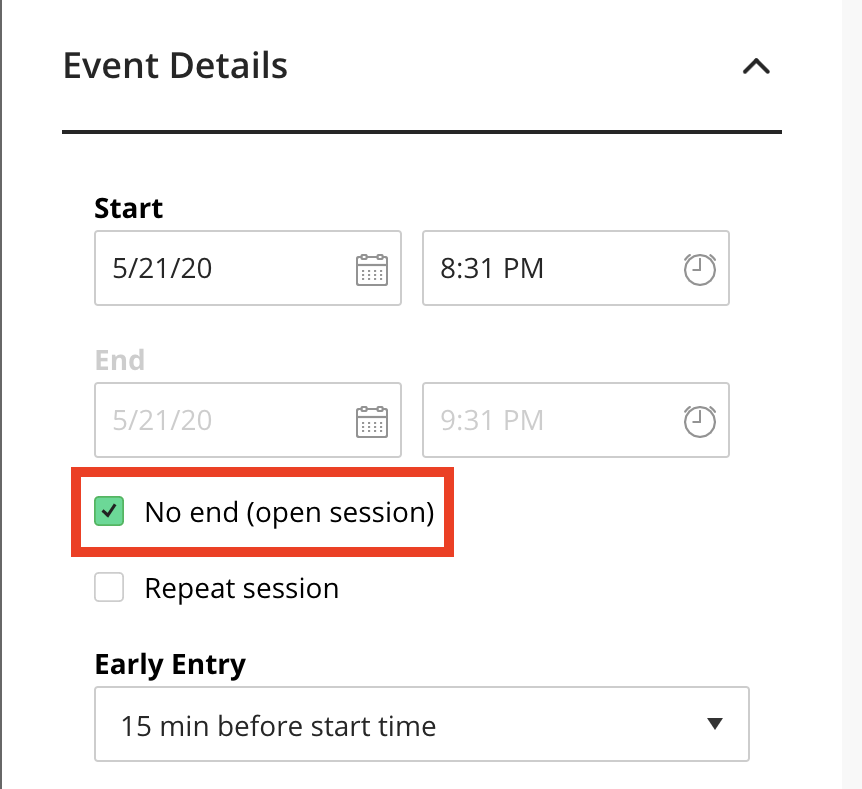
Step 7: Under Event Details, check “No end (open session)”. This allows the Session to be used semester long as opposed to creating multiple Sessions for the same purpose.
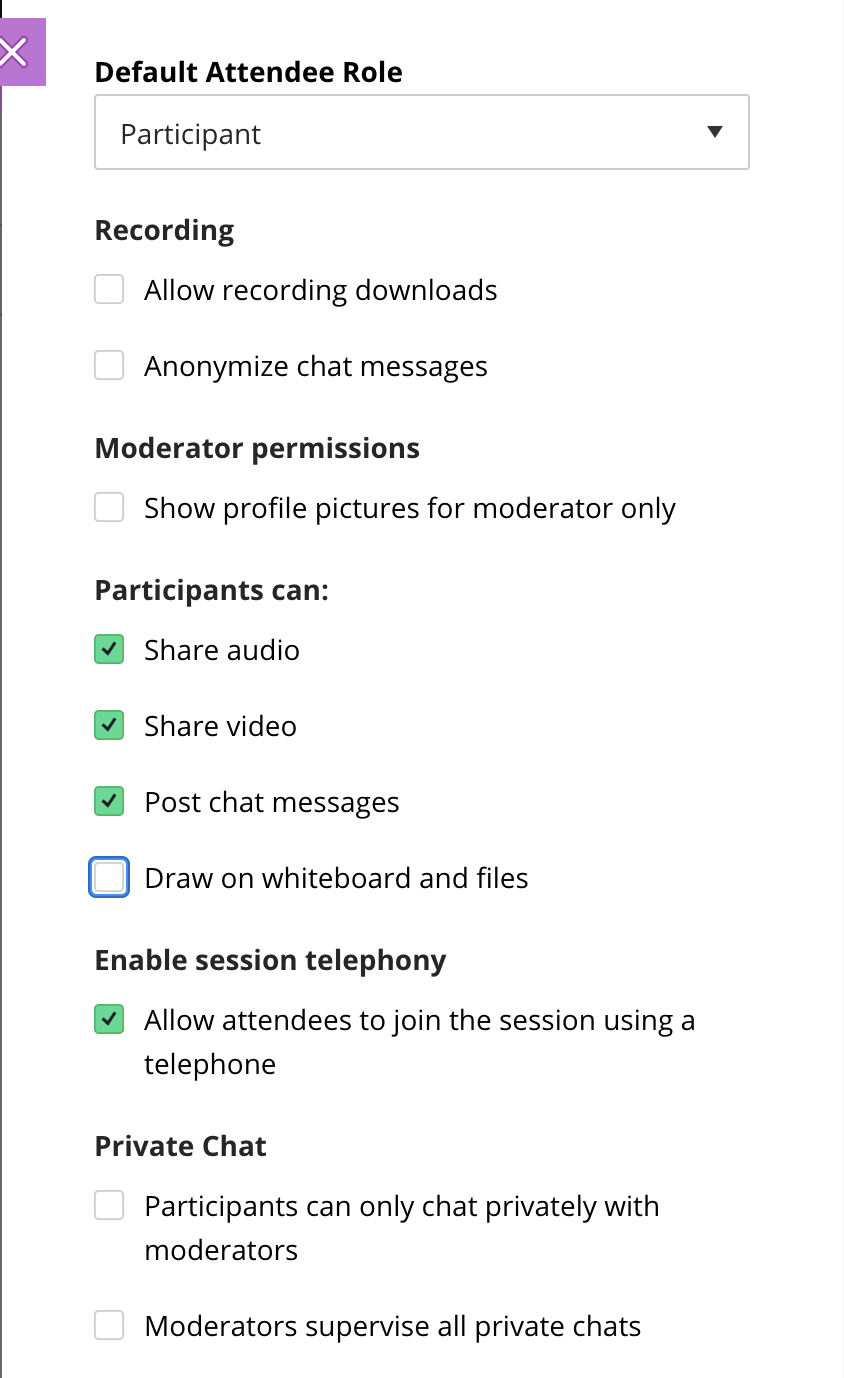
Step 8: Under Session Settings, ensure that you enable the following:
Step 9: Click Save and join the Session as you normally would.
Inside, we will treat the Main Room as the Reception or Waiting Area and create Breakout Groups for private sessions with individual students. In order to create Breakout Groups please follow the steps below:
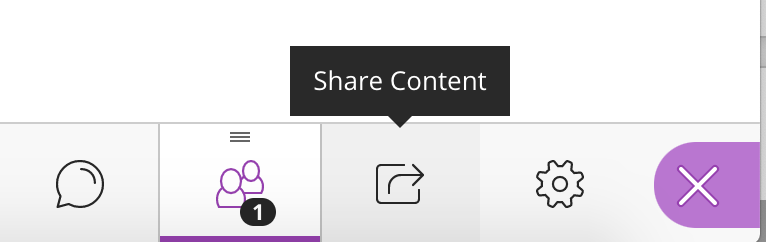
Step 1: On the Collaborate Panel (through the purple arrows on the bottom-right corner), click on Share Content tab.
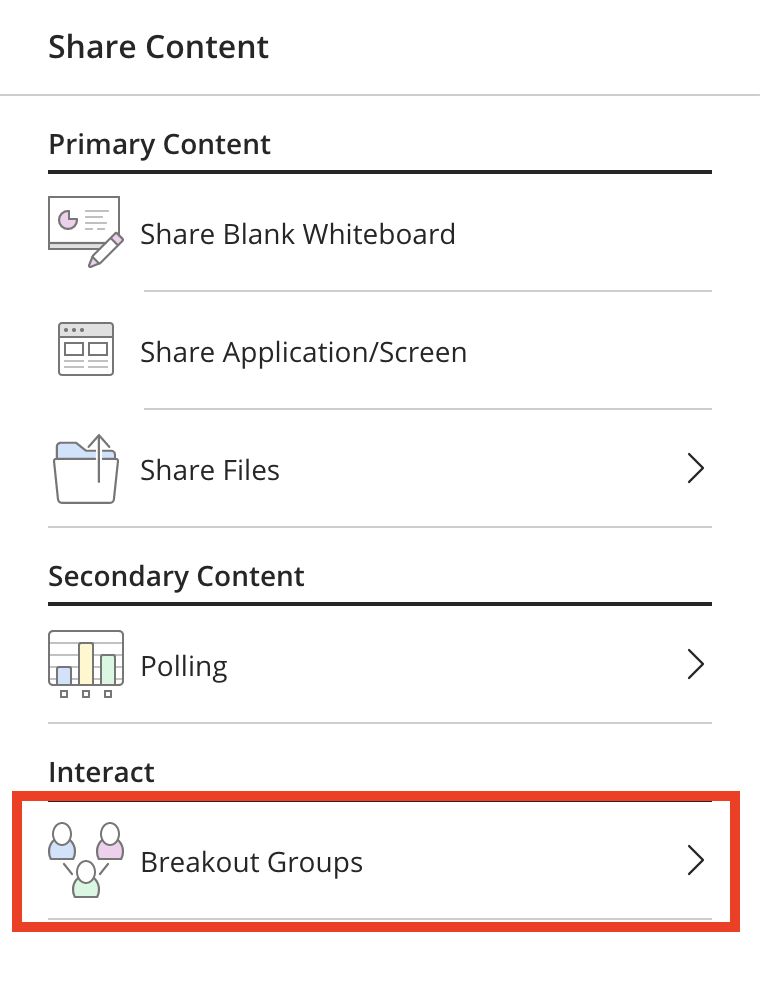
Step 2: Under Interact, click on Breakout Groups.
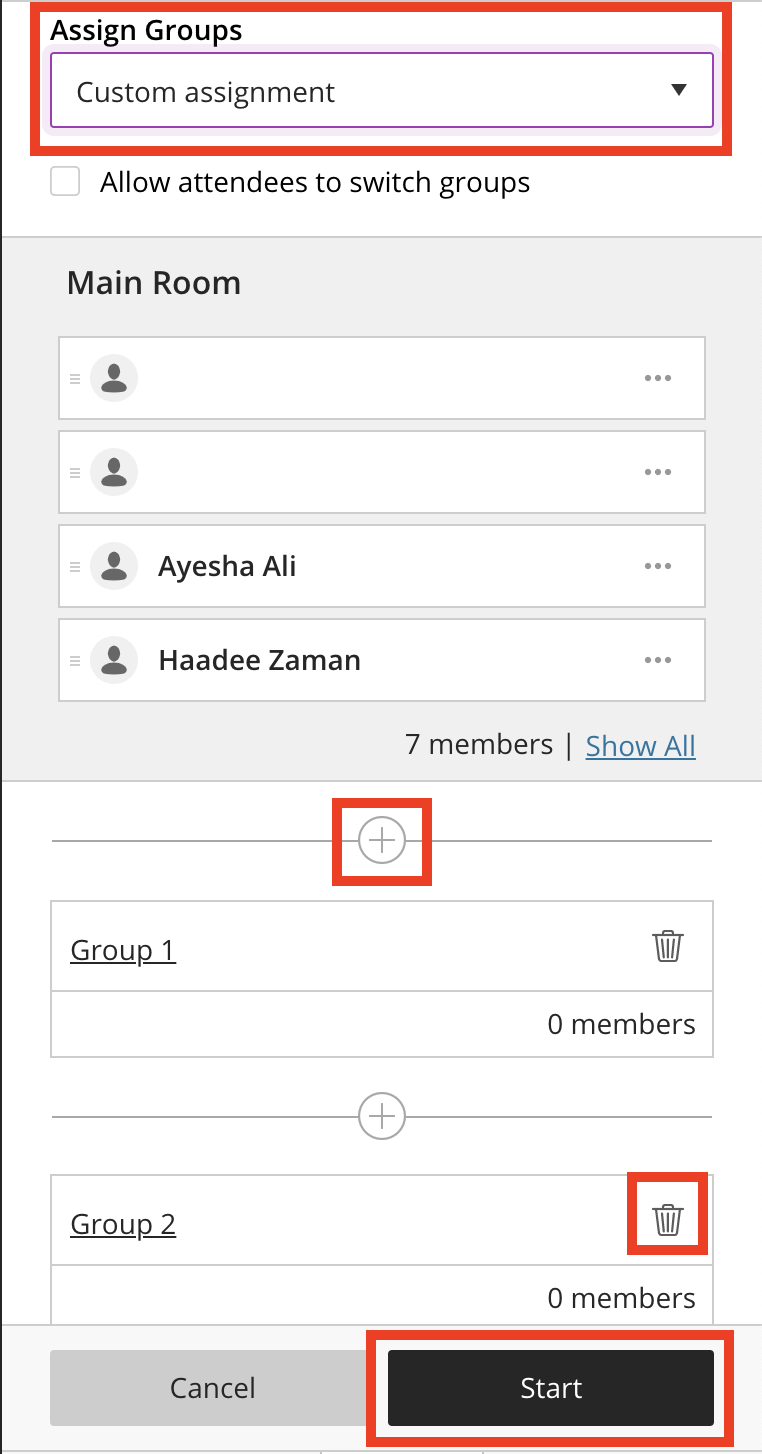
Step 3: Ensure that you have:
- Selected "Custom assignment". This will allow you to control who is placed in which group.
- Disabled "Allow attendees to switch groups". This will ensure utmost privacy is maintained throughout all groups.
- Created the number of groups required. You can create groups simply by clicking on the + sign and delete unnecessary groups as well.
Finally, click on Start.
By default, as the Moderator you will be in the Main Room. Students will also enter into the Main Room before you place them in a Breakout Group. You can have an oversight of the Main Room and Breakout Groups on the Attendees panel.
Step 5: Once a student enters, click on the Share Content tab and then on Breakout Groups.
Step 6: Drag the name of your student and yourself and drop them into the Breakout Group you created.
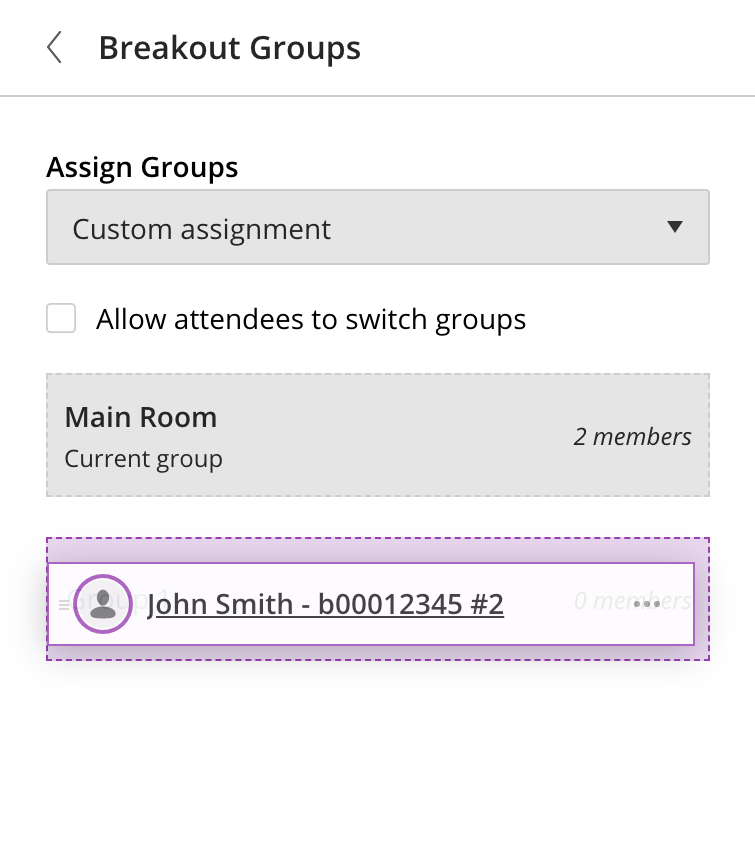
Step 7: Click on Start. This will re-direct you from the Main Room to the Breakout Group.

NOTE: If you need your student to share their screen you will have to manually change their role from Participant to Presenter.
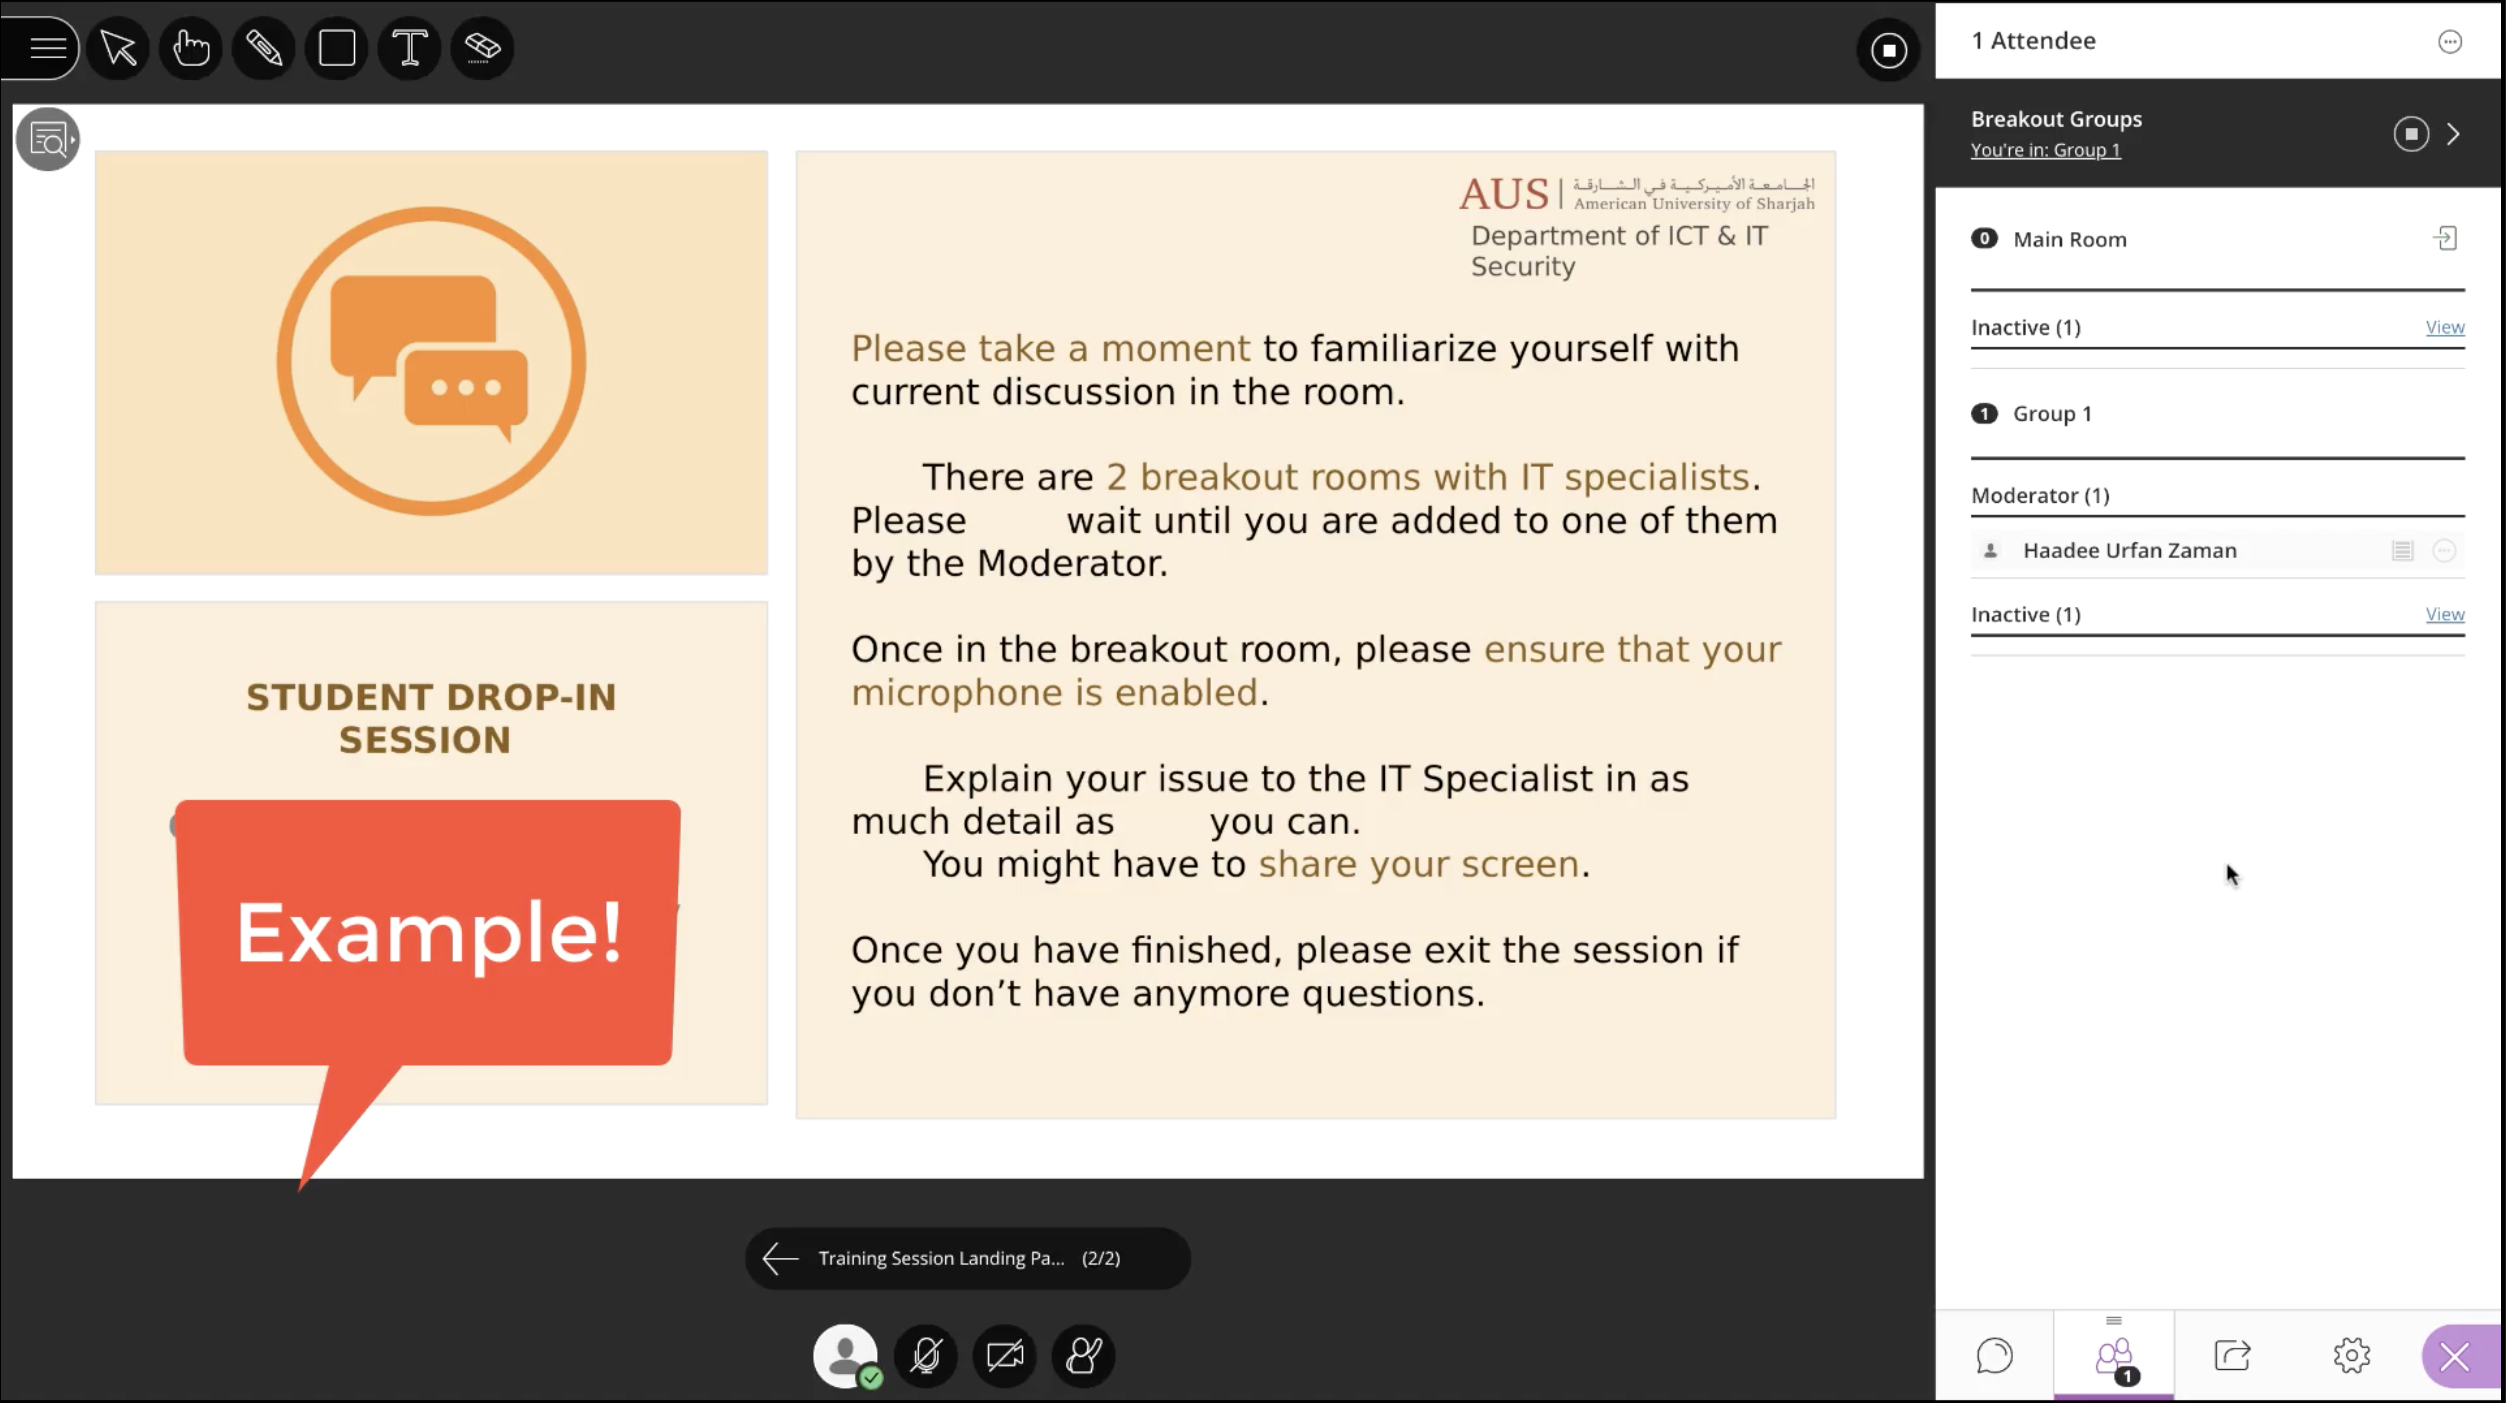
It is recommended to share a landing page on your Main Room to communicate certain instructions and etiquettes to your students. For instance, a new student can be informed that they will need to wait a few minutes before you can tend to them. The landing page will also familiarize students with the nature of Session.
Since this an Open Session, you don't need to set up the landing page every time you enter.